New Rocket Stove (DSR 2)

I hate to say this, but I fell down on the job of taking pictures of the rebuild, so I’ll do my best to fill in the gaps with descriptions.

Empty hole in the overall build where the DSR used to be. The DSR2 has almost the same dimensions, although in order to fit in the riser in back, I moved the firebox forward in the opening and shortened it a bit
The existing clay/perlite lining was mostly removed on the back and right side, leaving the concrete in back and brick side wall

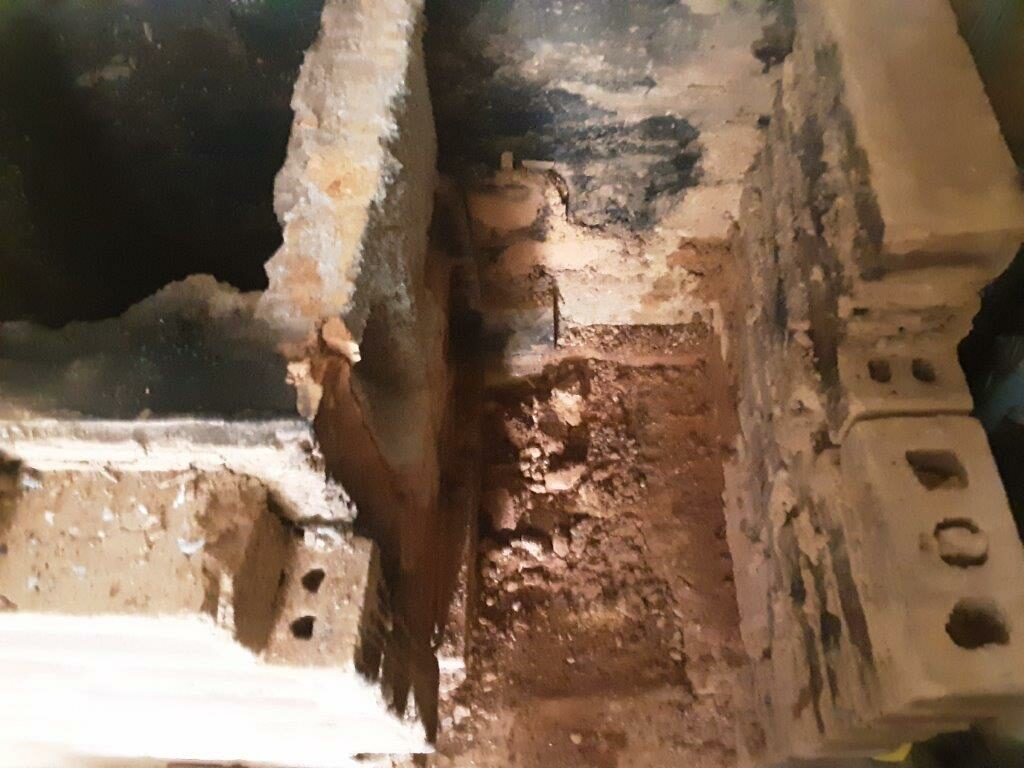
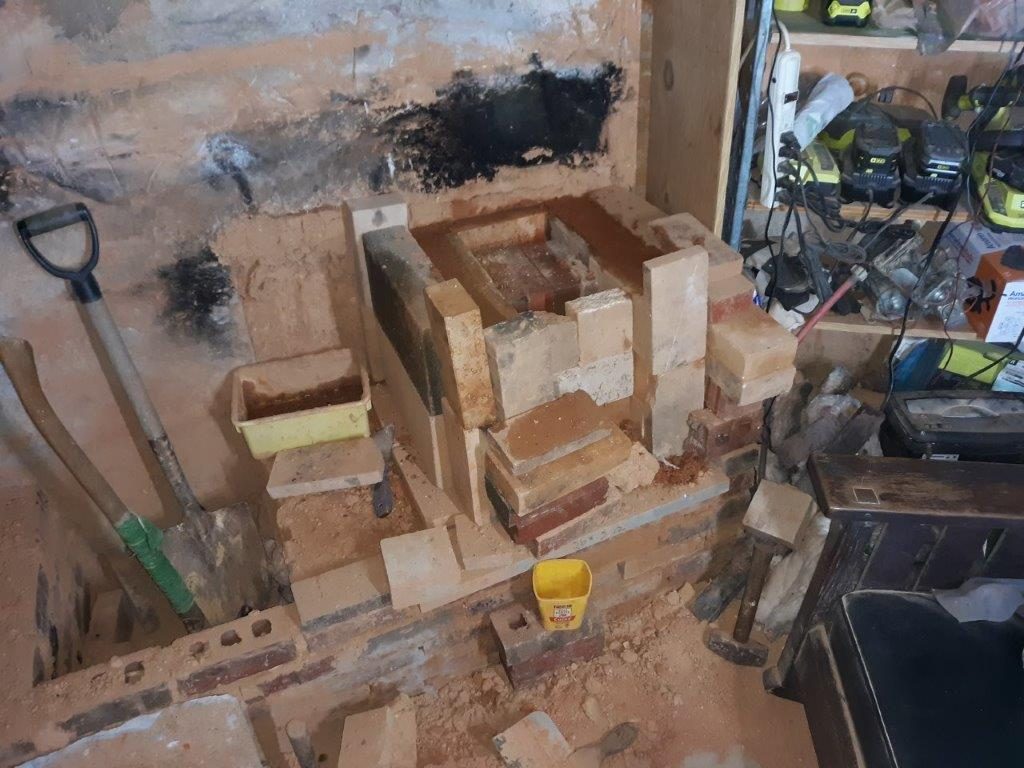
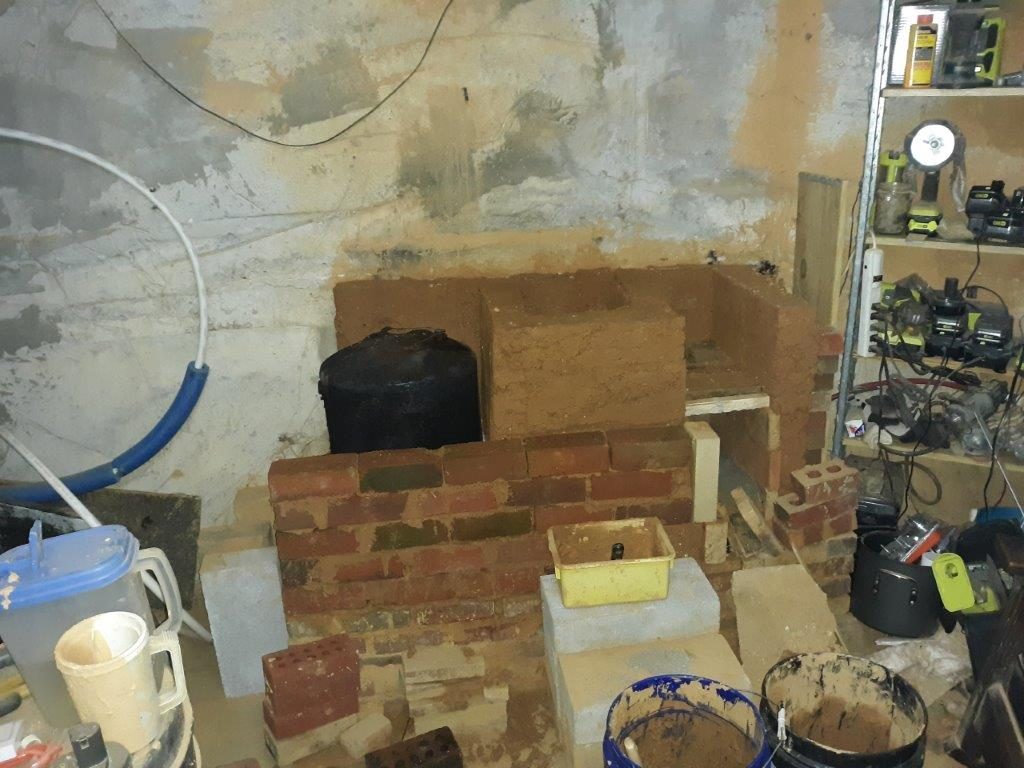
This shows the beginning sculpting of the back riser, and the first level packing of both left and right sides with the perlite clay mix behind the fire bricks.


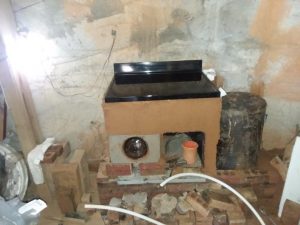
Front view of same construction detail.

Fast forward to completion and clay is almost dry now after about three fires.

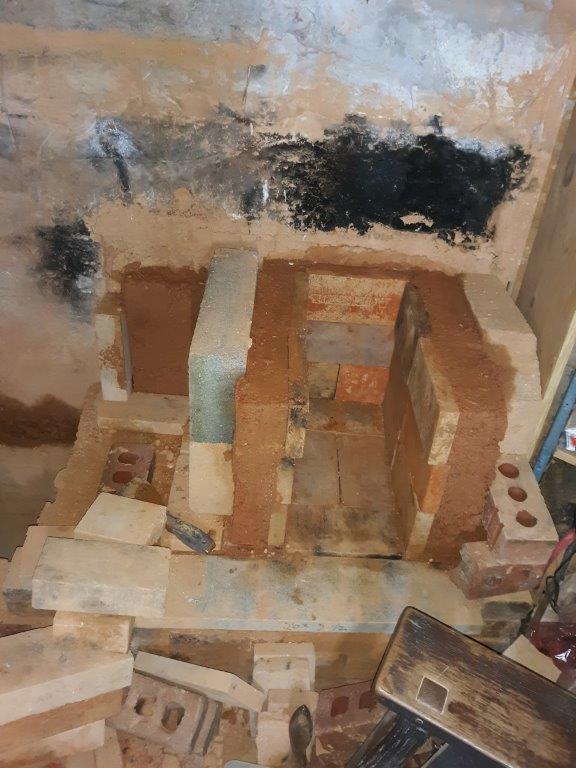
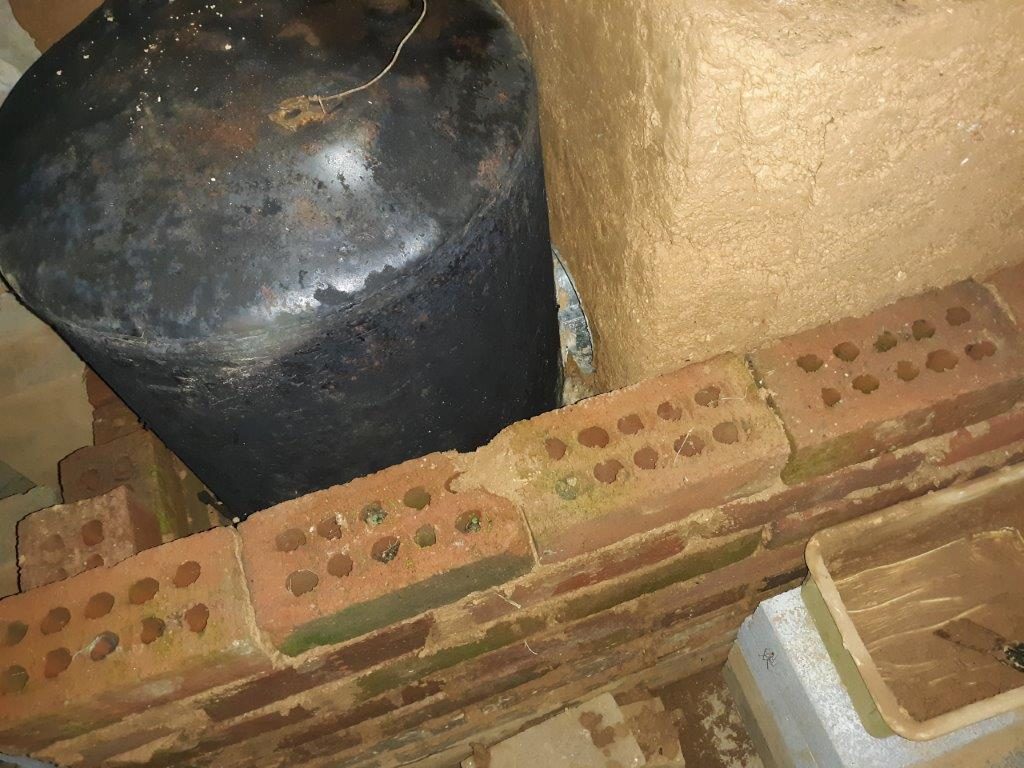
Again apologies for not following the construction more closely with pictures. The level separation between the firebox and the secondary burn chamber was made using a cast refractory cement slab, since the fire bricks were not really long enough without slanting them in or robbing more space from the firebox. The door and frame were welded up by a friend , just a few angle pieces and some flat stock. The glass is set in the frame in a bed of clay, with a woven fiberglass gasket running around the edge. I’ll try and get some more detail pics on the door frame later. The frame is held in place with a piece of steel rod welded to the back of the flat stock and embedded in the clay on both sides of the fire bricks

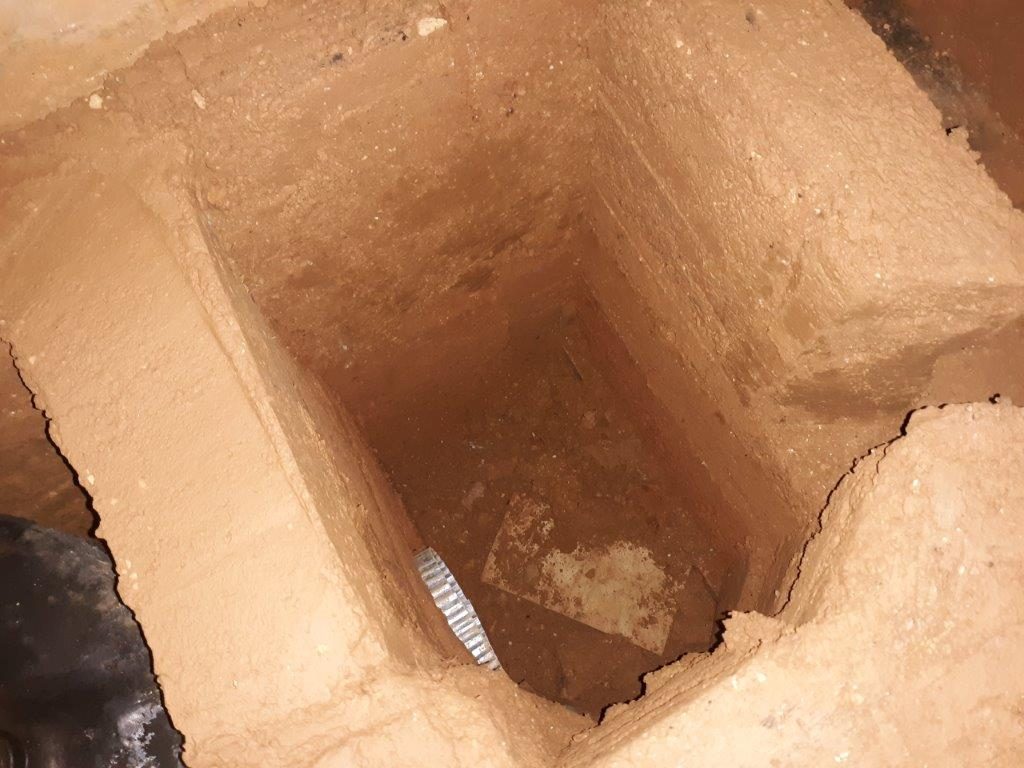
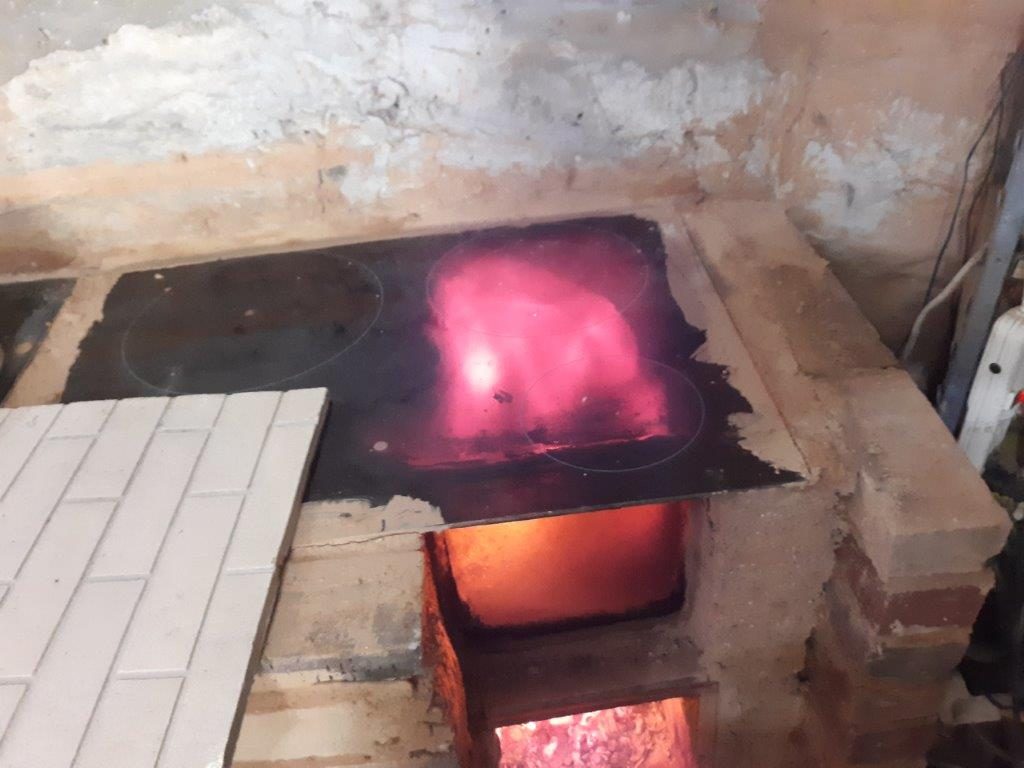
In the old DSR I used the glass stove top as the top of the secondary burn chamber, but in this one I actually lowered the whole construction several inches below the old level to make room for a space between the top of that chamber and the glass stove top. Again I used cast refractory cement slabs for that internal ceiling, and in this version of the stove the exhaust is on top instead of to the side.

Overall this unit is performing better in all ways. I still use the ceramic fiber blanket to push the heat over to the water tank most of the time, but when it is not in place, temperature checks show less intense heat in single spots, but greater heat overall. I have not had a lot of time to play with this version in terms of taking lots of measurements, but it is easily hitting 1000 plus degrees,

I also have started a burn technique after it hits the coaling stage of throwing in a couple small pieces of wood to help keep the after burner ignited, and I believe in this way I get a more complete burn during the coaling stage. Of course this falls under the heading of playing with the fire, so when I don’t have a lot of time, I just load a second half load or so of wood right on top of the coals, close the door and walk away.

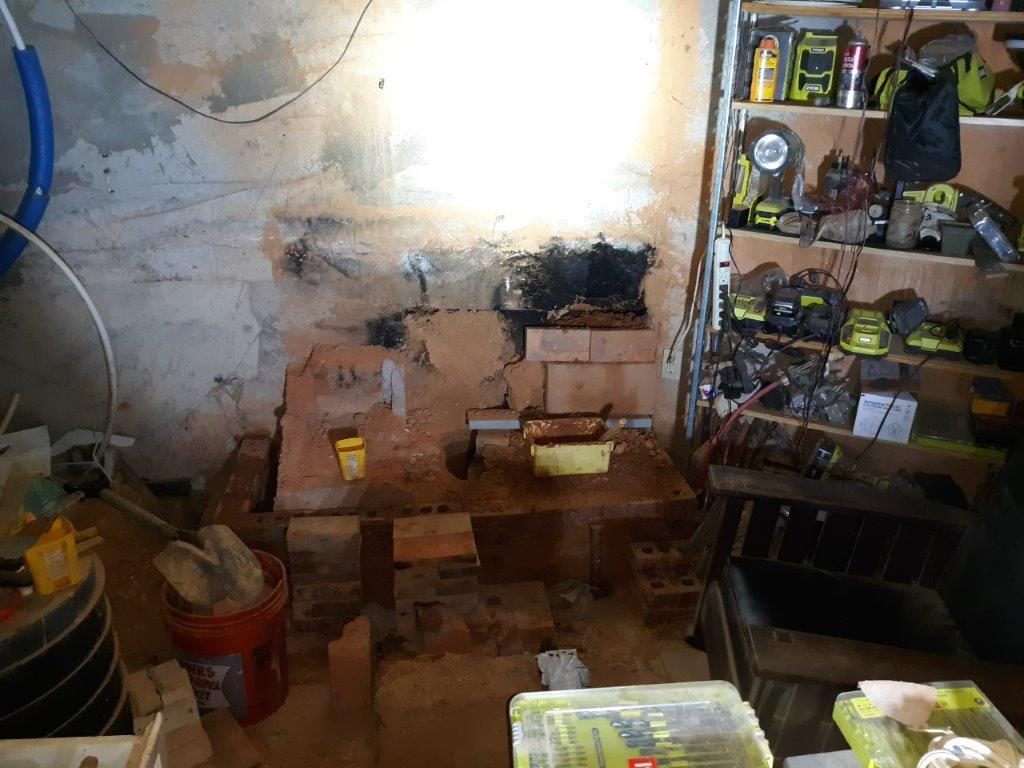
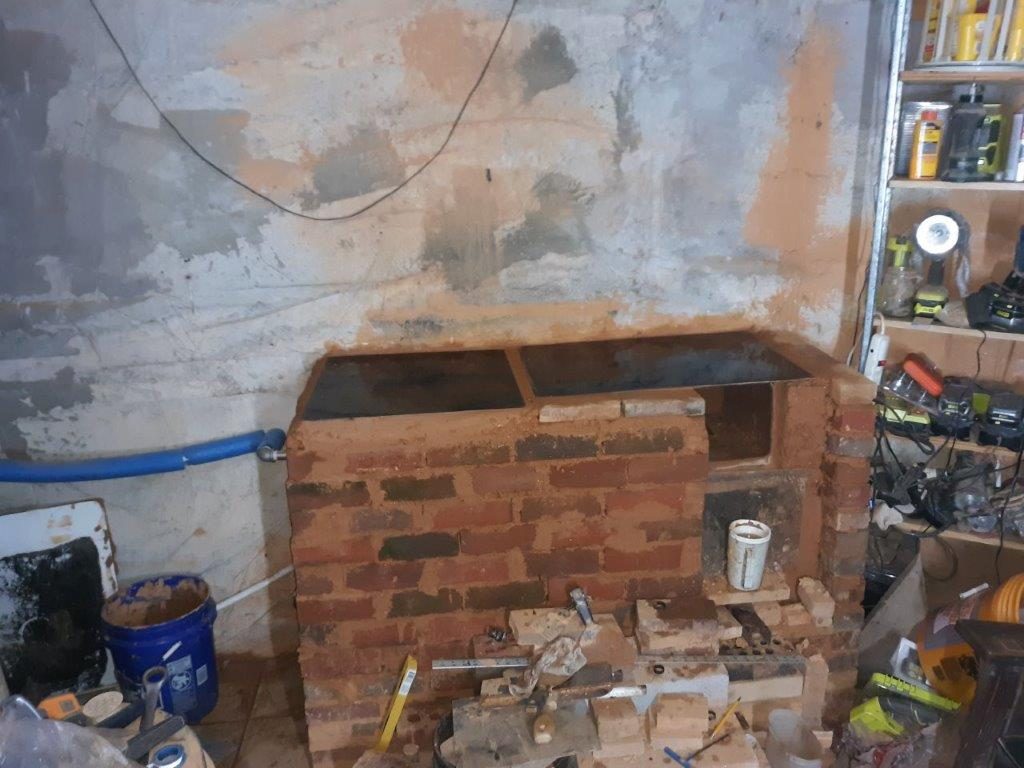
I did leave out some of the finer details in my haste to get this working. Once again I seemed to only have time to coast a few days on passive solar heat while rushing to implement the new build to restore a more comfortable temperature.

The stumbling block in the top chamber is not yet in place, and I kept the secondary air supply at the bottom of the heat riser, although I think the design showed that was no longer necessary. Truth be told I haven’t had a lot of time to revisit the details of the design and was going mostly by memory and expediency. There are a couple refinements I might like to add, but I’m quite pleased in general with this latest iteration.

DSR 2019 build

Well, a new heating season is begun and with it a new iteration of the previous Rocket stove, called a Double Shoebox Rocket.

The group over at the Donkey forum did some experimentation back in 2018 coming up with this concept, which was later abandoned by Peter van den Berg, the chief experimenter on the project, as being too unreliable.

By the time he had moved on to a different design I had already started building, it was getting colder, and looking at the elements that seemed to make the DSR run away with the burn, they did not seem as relevant to my design, so I just continued to build according to his best guess dimensions.

My 2018 build used a number of walls that were simply formed of clay, or a clay perlite mix, and a couple of the sides around the water tank were taken from an old washing machine, with some fiberglass insulation hastily fastened to the inside of the walls, with clay slopped around the top and edges to give a seal.

The door to the burn chamber, as in many projects done on the cheap was a problem until I finally bought a couple pieces of neoceram stove glass, which cost more than all the previous stoves from the last several years.

While this new glass has proved very durable, having a door that really is robust requires more than just a glass pane, so that is still in the development phase, although I’m pretty sure I have a workable solution which will likely happen sometime during this season. For now I continue to get a potholder if the glass is hot, and as gently as possible remove it and then wedge it back into place.

The other main change is the use of bricks to give a substantial continuous exterior that is well sealed and even looks a little better.

One other important note, my exhaust was set up for a low temperature ground level “stack” and to use the push of the j tube rather than the pull of a draft. Since the first batch box conversion about three years I found it necessary to install a fan at the end of the exhaust pipe to aid with the draft. This totally eliminates smoke at start up and keeps the draft more even.

while it may appear the smoke is being pumped into the ground, the downward tube is actually wide open at the seam, this arrangement helps prevent sudden gusts from totally disrupting the draft
The brick exterior is continuous back to the poured concrete wall as I continue to remove clay from the previous construction. the removed clay goes right back into the new build
note the wet perlite clay mixture formed in place around the DSR core. The stack/exhaust is on the floor at the right side of the shovel
the clay perlite insulation layer continues across the concrete wall in back
The second chamber is now well defined and the brick courses are starting to grow
Note the rectangular passage on the right where the exhaust comes in to the first bell from the secondary burn chamber. The rim of the duct to the water tank “bell” can be seen just opposite this entrance and further down in the chamber
The right side of the water tank shows the location of the duct from the first bell just visible above the top of the front bricks
overall layout of stove. note exhaust moves from right to left through the chambers and at the bottom of the water tank chamber it turns back and flows under the construction to the exhaust “stack”
salvaged glass stove tops are sealed with wet clay to the top. Note the left side galvanized pipes exit and the blue pipe insulation for the hot water outlet
proof of concept, the first fire verifies the exhaust, now the drying process begins
looks just like the pictures I saw when I first started last year, note that the bricks are joined with a clay “mortar”, if I want to rebuild, everything is easily recycled with water as the solvent
I usually have a small piece of ceramic fiber board over the glowing section of the stove top. Temperatures are way hot, and after passing 1000 degrees F it just registers as “HI”

cooking can be done here, very carefully, but I like the idea of more insulation to increase efficiency of the burn. The second chamber still has plenty of heat for a more reasonable cooking surface, and even the water tank chamber can keep things warm
with the top cleared and clean

DSR (Double Shoebox Rocket) revisited


So it’s getting pretty cold outside, and when I built the last version of my stove I promised a breakdown analysis after I had used it for a season and had a chance to sort out my experience. Now that I have rebuilt the beast it seems the time is here to write about it.

First I would say that overall it performed pretty well, the weakest part of the thing being the door. The visions cookware lid I started with did work, but I would not plan on using such a thing except in a pinch. Eventually the first one cracked, primarily from physical shocks because it really does get too hot to handle at times leading to bumps and drops, and once hot it will use any excuse to crack.

Over the three to four month life of the stove there were numerous tweaks and while the final product worked, it would never have lasted another four months without many more overhauls.

My building style was primitive, using lots of clay and perlite, which was always sufficient in the original rocket stoves I built, but with the more compact and intricate design of the DSR bricks are really the way to go for all vertical surfaces, not just inside the firebox/batch box. Also bricks give an element of speed to the construction, and the finished product is structurally more stable. With clay walls on much of the old stove, cracks were commonplace, and I often worried about them just falling completely apart. If you do want to use clay, make sure it is a continuous mold type process. Forming one wall one day and then adding to it or building an adjoining wall the next does not give a reliable bond.

The water tank was the next area of interest, primarily because it was an issue I had to revisit many times, especially after one spectacular failure. My theory that pex could withstand temperatures in excess of water boiling was good only to a point . Hot, therefore soft, pex under extra pressure will blow out. Use all metal fittings inside the heat chamber and for a distance outside the chamber, and of course, when heating water, always have the system open so steam can escape safely. Pressure relief valves are a real good extra insurance in case one forgets to depressurize the system.

Soot was present everywhere the exhaust touched , except the parts that got the hottest in the burn chambers. The thought occurred to me that I had basically turned the entire downstream part of the stove where heat was extracted into a creosote trap, and future builds will have to accommodate an easy access for periodic cleaning.

Future builds will also need to be more efficient, and since start up and cool down phases of the burn are the most problematic, shortening those periods compared to overall burn time will be a major concern. Quality dry fuel will become a major goal for operation of the next iteration of the stove.

Recently I read more about the continued development of the DSR II and it has taken some interesting turns. I’m not sure I will be using all the developments, but at some point I will likely be adding a short riser at the back of the firebox. That will likely wait for me to get some ceramic fiber board, so for now I’m just using the old DSR design.

original visions lid, the crack is visible on the left side running under the handle, and I continued to use it till it cracked into several smaller pieces later on
this hodge podge is the water tank enclosure As the winter closed in, my hurry to get the stove functional meant many makeshift connections and very iffy seals. The forced draft kept a negative pressure inside the stove so leaks weren’t really a problem, but it would always be best to have everything tight as a drum


I broke down and bought a 10×10″ piece of neoceram glass–expensive (50$) but a good investment
this is before the old stove was finished being built
taking the stove apart, note the soot in the oven chamber but not the firebox area
getting a start on the base of the next DSR, note the exhaust has been extended and turned toward the left in preparation for the changed position of the water tank and the exhaust exit from the stove

I was a bit remiss taking pictures as I dismantled the old DSR, and obligations elsewhere meant much of the new construction was not overly documented, but look at the next post to see how the new DSR changed.

DSR update 12/25/2018

The double shoe box rocket is elevated off the floor about 18 inches, and instead of an exhaust on top- in front, it is channeled horizontally under a glass stove top from left to right.

Having the water tank inside the bell was an idea suggested at http://donkey32.proboards.com   that led me to my design, which in appearance is like a glass stove top, with an extended simple porcelain covered metal counter top.

This extended bell houses a naked 20 gallon water tank with two fittings, one for cold water at the bottom and one for hot at the top.

The top fitting connects directly into the hot water feed for my house system, and while in operation the hot water valve to the shower head in my tub is left open, and the cold water flow to the tank is shut off. This allows excess pressure to escape safely, and notifies me when the water is hot as steam starts to escape. Note that this is primarily proof of concept, and not yet ready for prime time water heating, it could easily have safety features added that would further ensure a more automatic type system.

note the new visions fry pan  “door” to the batch box, The lid I was using had broken into two pieces possibly from rough handling, possibly the lids are not as thermally  robust as the pans

Last night I was burning the third batch of wood in the firebox,low grade poplar and some mystery wood, likely not completely dry, when I started to hear the steam. That produced a luxurious long (10 min at 4-5 gal/min), very hot shower (mixing lots of cold water). I was concerned about stratification, and the possibility that all the water would not heat evenly, but the length and relatively constant heat of the shower indicated this was not an issue.

The design inside takes the combustion gases exiting under the stove top into a very broad vertical opening that directs the hot gases forward into a circular motion around the whole vertical surface of the tank, with some small horizontal space over and under the tank. 
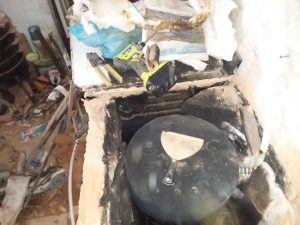
These gasses that are further cooled start to sink to the bottom as they circulate. The “stack” entrance is below the bottom of the tank in back of the system, so the exhaust comes in contact with about 270 degrees of the surface of the tank, with some minor contact top and bottom. Note that this stack is actually a powered exhaust by a very cheap, low wattage (about 10)fan. This provides a more or less guaranteed exhaust even at startup, and the exhaust is so cool (around 100F) that more robust (and expensive) equipment is not needed.

The test run last night reached temperatures on top of the port between 900 and 1000 F during the third batch of wood, with a very robust secondary burn at the port. Without testing equipment I have no way of knowing just how clean this is burning, but it appears that the system gets more efficient into the second and third batch of wood by the size of the secondary burn. 
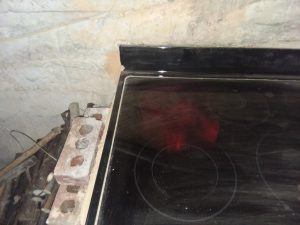
Perhaps using insulated Fire brick at the port would get the port to temperature more quickly (it is currently standard , full fire brick), and adding ceramic fiber blanket over the stove top might also enhance the temperature build up by reducing convection and radiation losses there.


more DSR pics (double Shoe-box Rocket

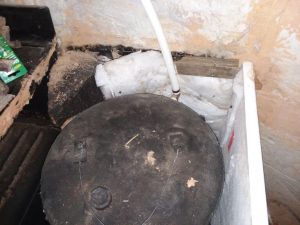
Note the opening to the left of the tank, exhaust gases travel counter clockwise around the tank once the insulated top is installed

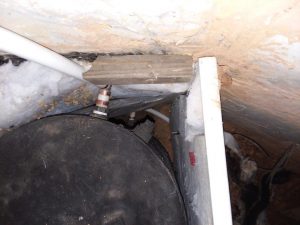
Two water connections to the tank, hot through the upper pipe, cold through the pipe that exits the enclosure botom


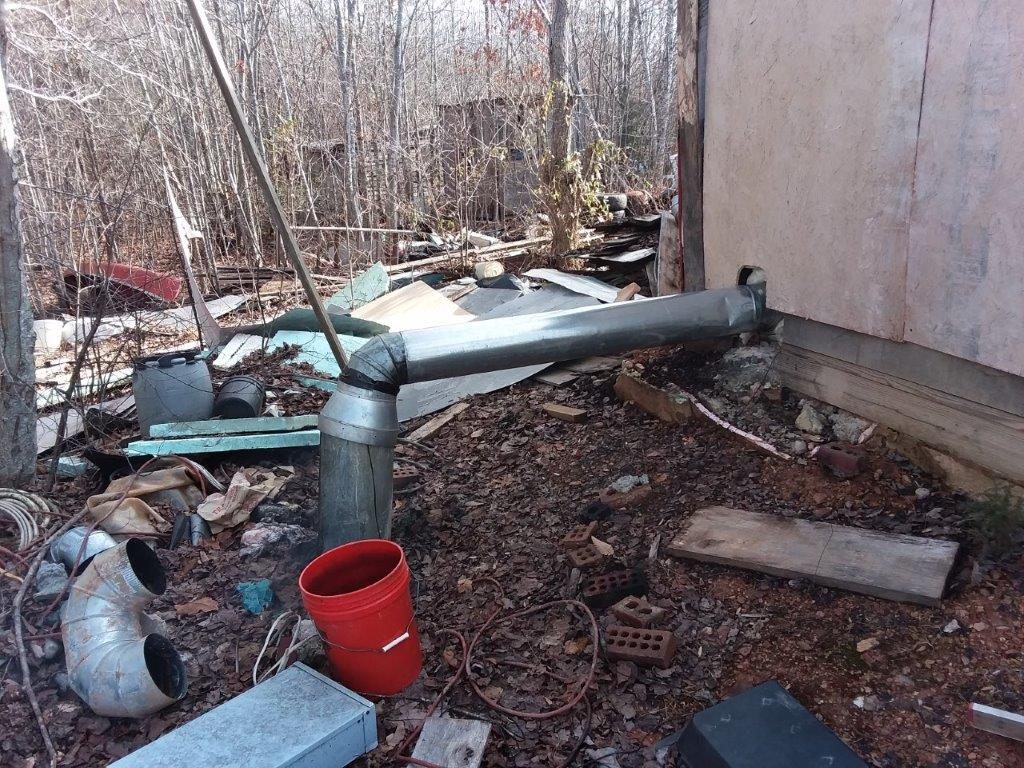
I prefer to think of the junk you see as a parts depository, the stove pipe comes up in the center of a poured concrete 2′ wall from the basement, runs horizontally, then down to the ground

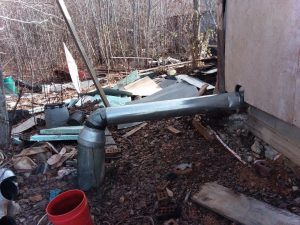
The wider area of the pipe after the angle pointing down houses a small fan,

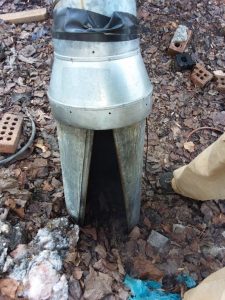
Though it looks solid from the sides, there is actually quite a wide openiong for the exhaust to exit. This configuration keeps the fan dry, allows for a small amount of falling for the exhaust as it cools, and protects pretty well against strong wind


s
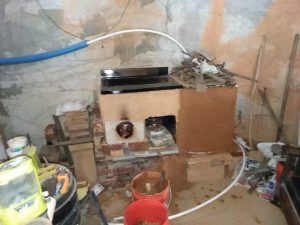
The tank enclosure has an insulated   top and sides, with just enough room to circulate exhaust around and over the tank to transfer as much heat as possible to the water.

New iteration of the old rocket stove

Hello again from winterland– no snow but plenty of cold, it has even gone down below 20 degrees F already. Inside, the lowest it got was in the mid 50s.

With a new stove build in progress, the place has relied completely on sun for passive heating, and yesterday, the first full sun in several days, I even got out a fan, and was moving the warm greenhouse air into the bedroom. Needless to say the sun gave me lots of surplus electrical energy with the new solar array I installed about three weeks ago.

this project is pretty ambitious, a smaller footprint and less passive mass, but with some luck the   water tank will provide an active absorption and transfer of heat to the mass of the floor.

For now the plan is to use a naked water tank, but depending on how well it works I may look for additional transfer with copper tubing instead.

Last night I got the stove ready and did a small test run to make sure I could count on the exhaust fan, and there was no trace of smoke inside. I prefer to have everything completely airtight so even though  the system is not finished, with positive ventilation it is tight enough to start the drying out process. There was very little heat at the exhaust pipe outside, but at this stage that really doesn’t tell anything since lots of btus are needed  to dry it all out.

Once dry the  btus will be available for cooking and heating water. One other effect of the moisture   is the secondary burn chamber did not function very well, at least I hope that was the issue. I noticed a brief period during the burn when it started to ignite so that was a good sign,but most of the burning occurred in the firebox.

So while more insulation is needed, and the water tank needs to be plumbed in properly, for the time being I have a cooktop, and can continue the drying process.


Here’s the build history thus far

take off watercoil,remove rocket barrel, notice soot–wasn’t burning too clean (except inside the riser, which was still snow white. The batch box I installed last year was made for a 6″ riser, but lining the 8″ riser with “1 inch” ceramic fiber reduced the riser size too much. There also may have been an issue with the port configuration and the way I typically ran the burns.  Getting used to the batch box dynamics requires a new mind set over typical managing of the burn in a regular wood stove.

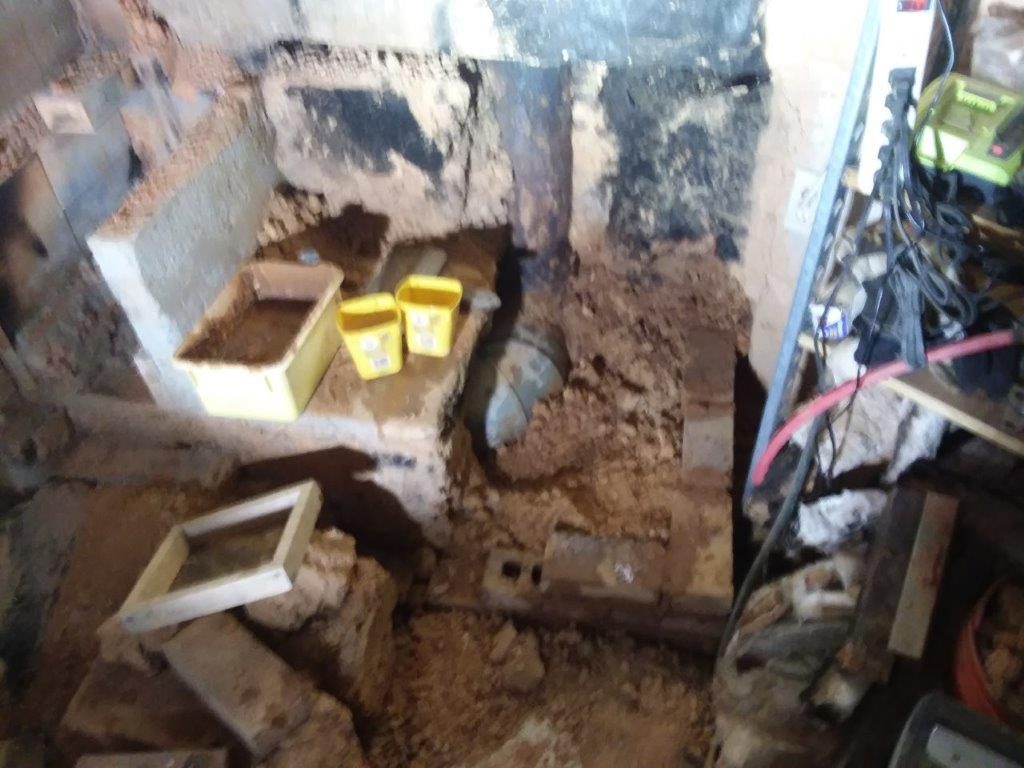
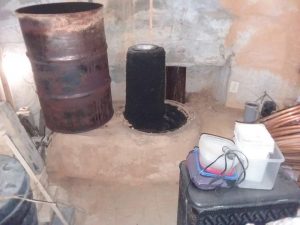
gone with the old and a new platform  in it’s place note that I’m working here with wet clay in forms 
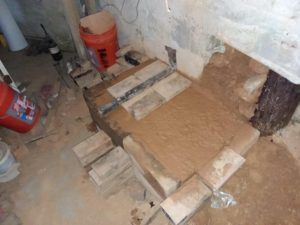
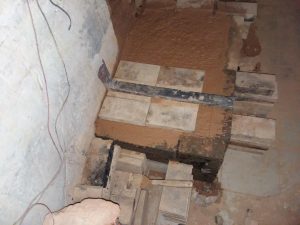
a mock up of the batchbox floor with secondary burn tube. This is the tube I took out of the old batch box, but the new dimensions doubled the  size of the tube I had been using for secondary air supply–this may have been part of the problem with excess soot in the old unit 
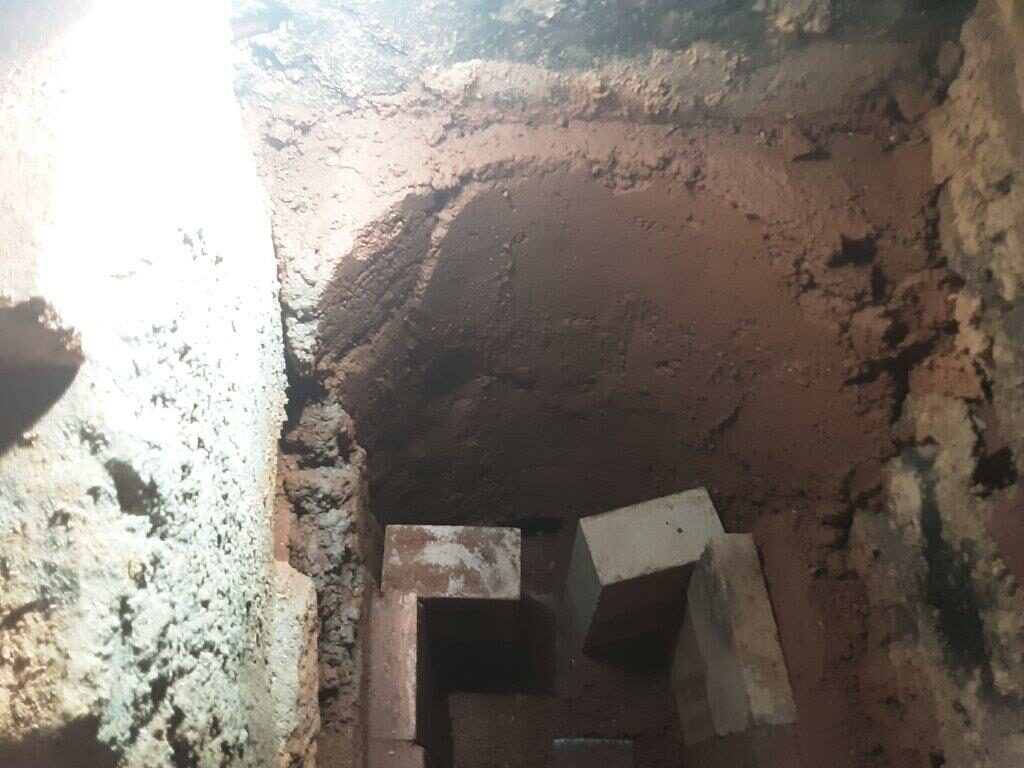
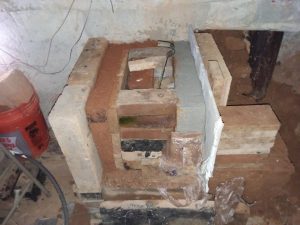
Perlite and clay on the back and left side, refractory cement on the right (shared side with oven) . odd bricks and such inside and out are used as wedges to hold split firebrick liner in place as forms while the clay perlite mix is solidifying

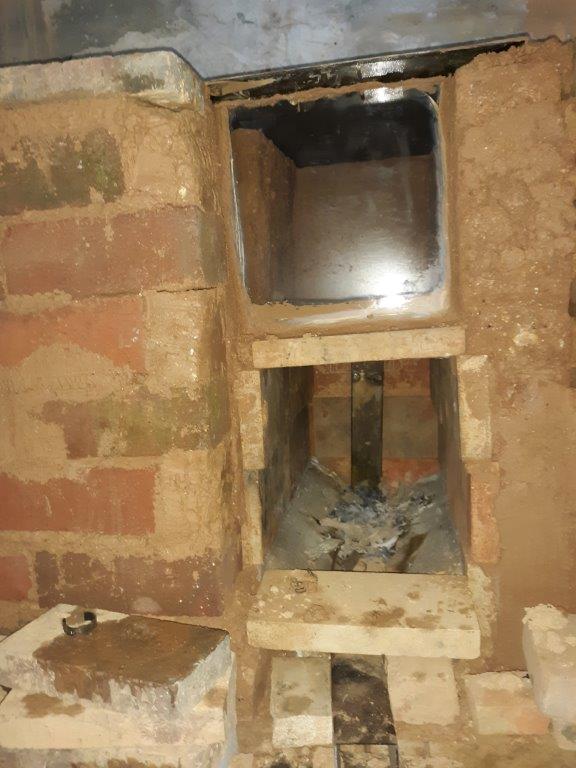
Adding the top secondary burn chamber.

In this picture the floor of the top chamber is ceramic fiber using a bit of water glass as a stiffener, but the final solution was giving a slight slope of the firebrick in the lower batch box reducing the width at the top by approx 1/2″  and precariously using the 1/4 inch or so for support of normal split firebrick. These were secured with a layer of perlite and clay keeping them precisely centered. 
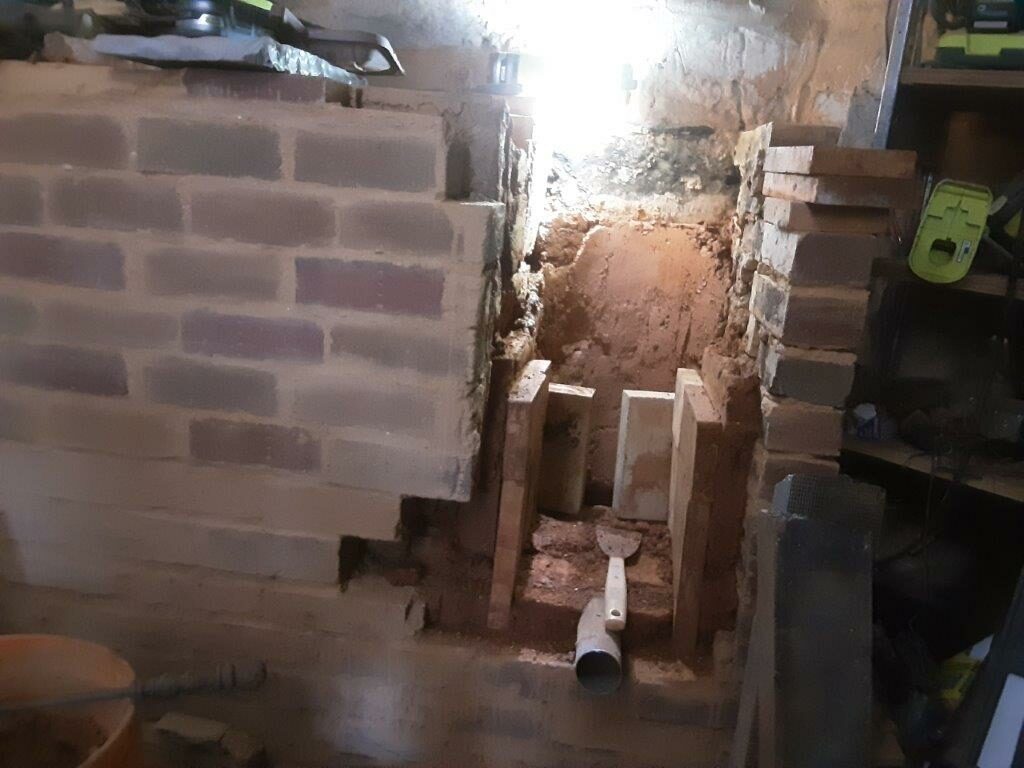
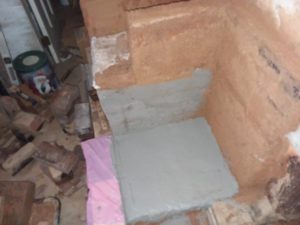
Picture of oven location

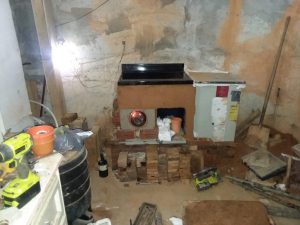
With the oven in place. 
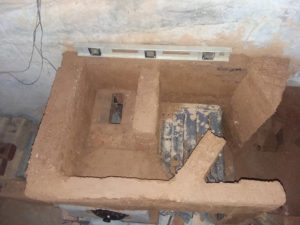
The final configuration with baffles to channel the heat 
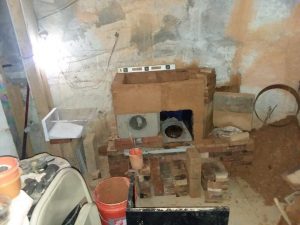
No door on the oven yet, but since the inside of the oven is outside the combustion gas area it won’t stop me from doing a test run, here’s the top gaskets made of ceramic fiber

with the stove top and water tank in place

finally with a hurry up enclosure around the water tank 
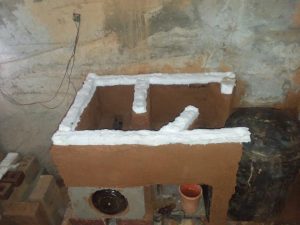
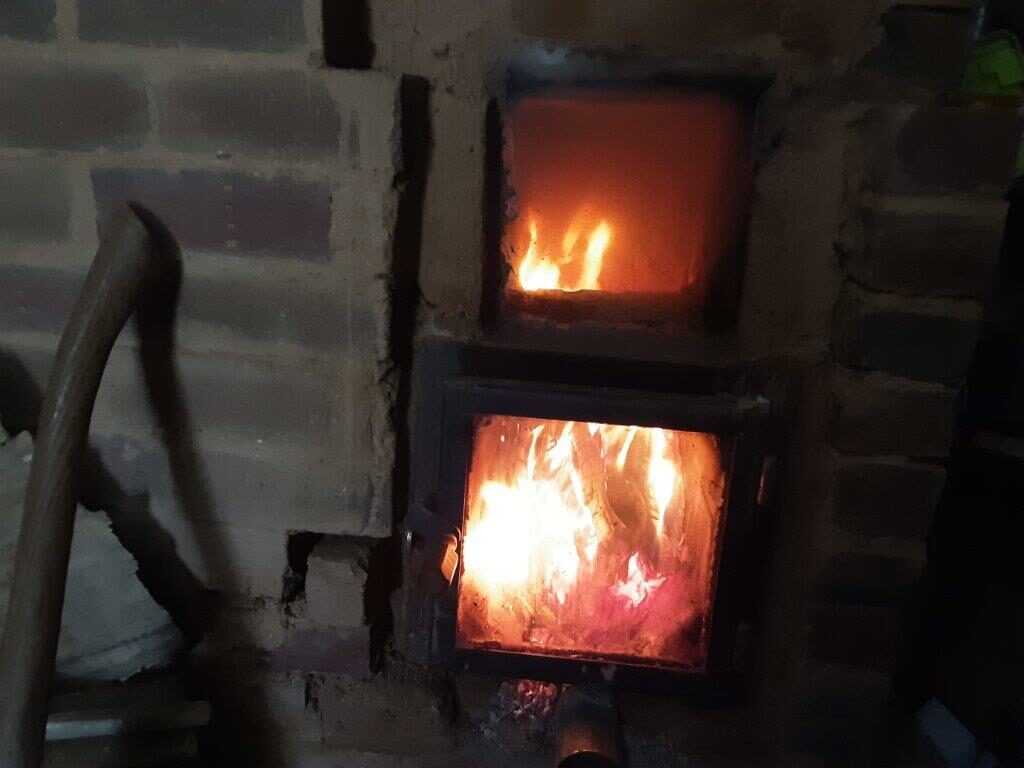
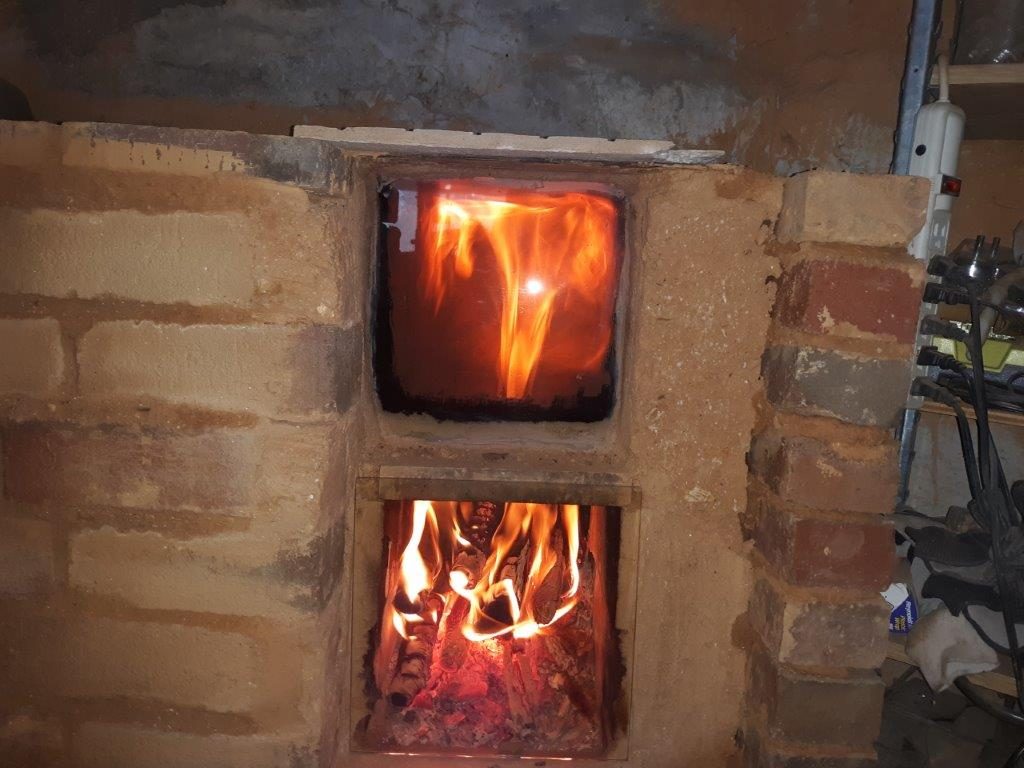
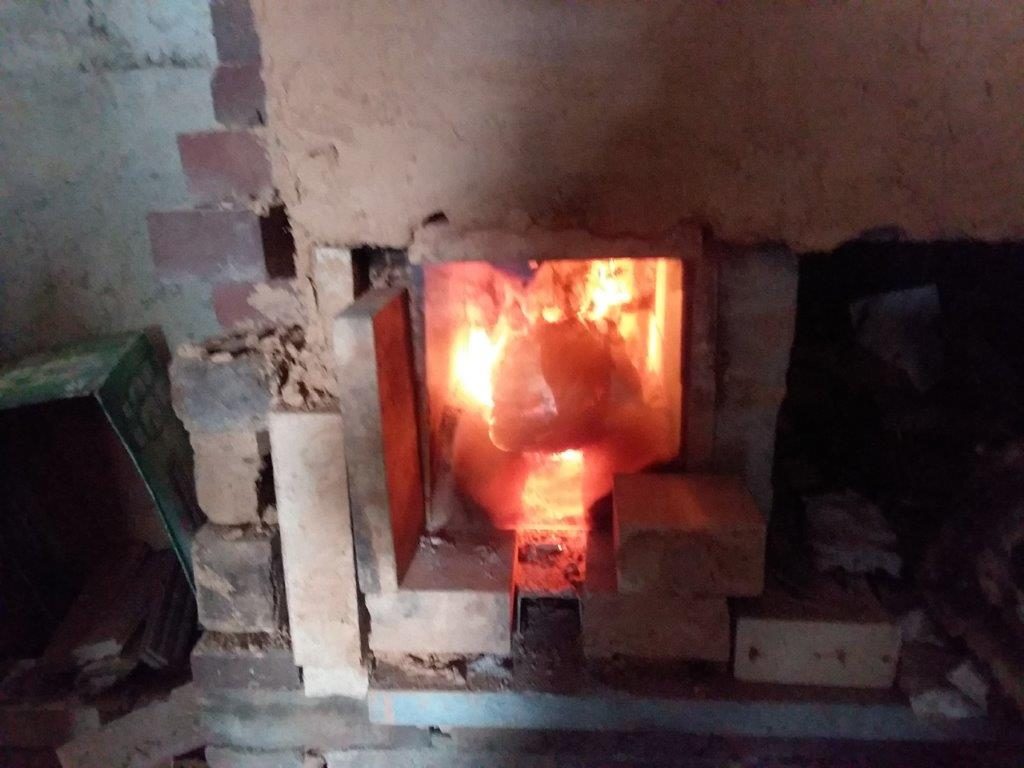
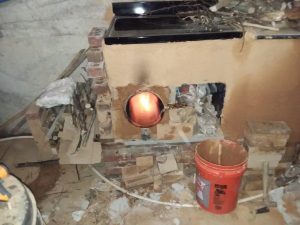
and the first fire, a power vent replaces a draft, and the vent pipe was just comfortably warm outside after a half hour burn

Follow up tests have raised the stove top temperature to 570 F as the clay dries out. Once the temps start to stabilize, assuming a strong secondary burn,  I’ll be able to more accurately test the effects of different baffle placements, and actual potential of the design.

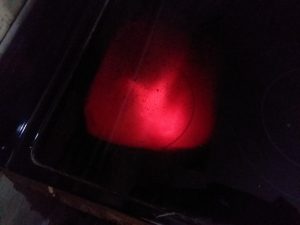
      view of secondary flame through top
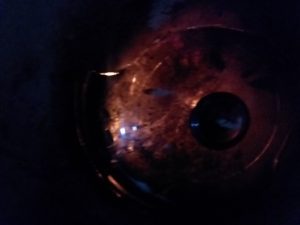
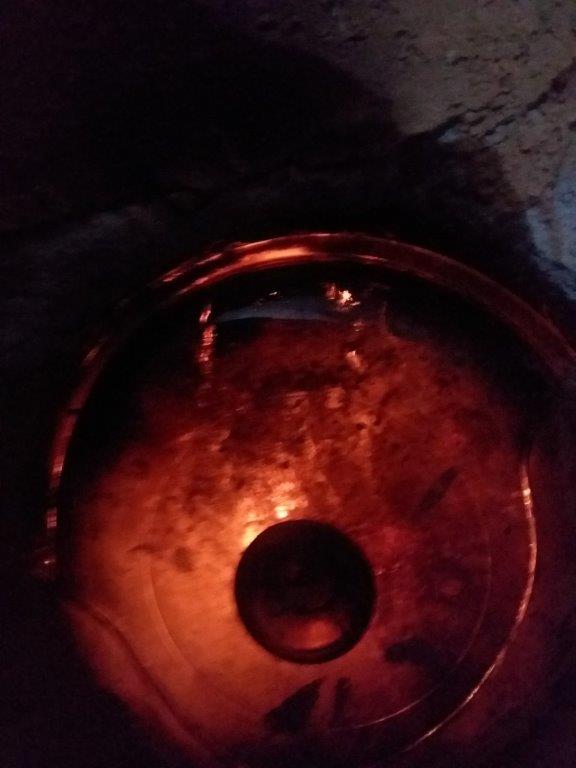
 

views of firebox

This was taking at the beginning of a burn cycle. During the hotter parts of the burn the flames are a continuous robust splash against the amber colored stove top glass.. temps here are just approaching 900F.

Please note  much of the fuel is a bit damp. this slows starting and reduces overall performance.

Rocket Stove Pics

testing outside, sand covering exhaust–that paint just won’t burn, maybe it’s high  temp:-)

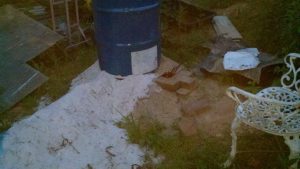
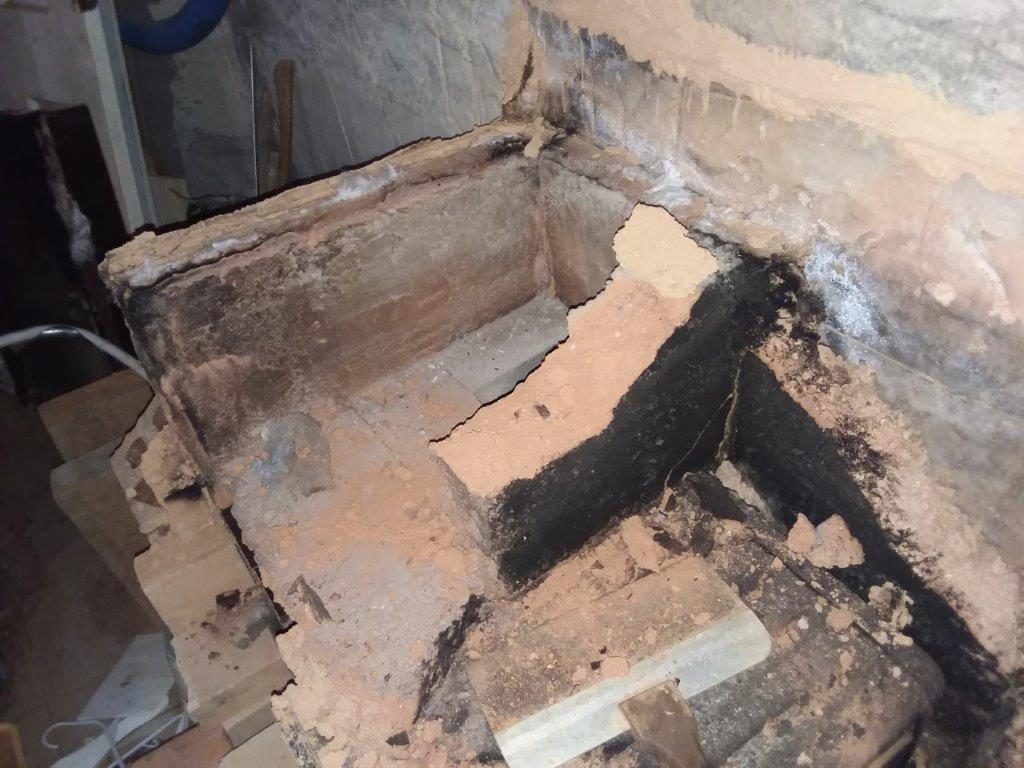
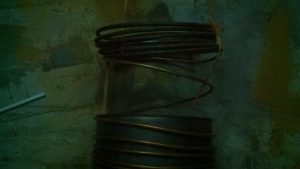
Maintenance with a 100 feet of copper makes lifting a 55 gallon drum that much more difficult–notice the paint is gone, sealing the bricks of the firebox, better riser, higher heat, but that means citra solve paint remover and delays

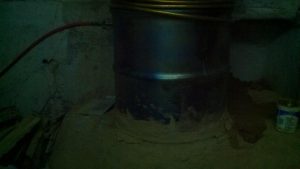
replacing mud around base is an easy repair  
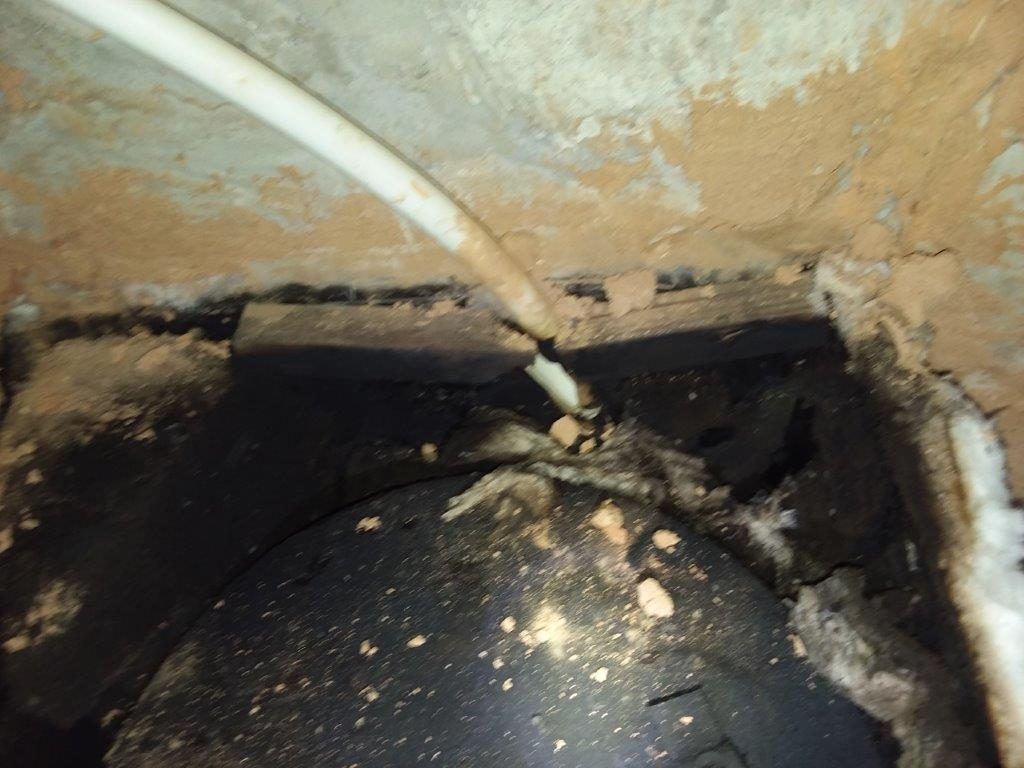
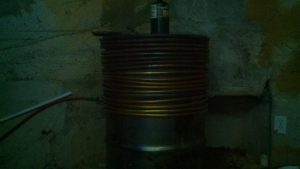
notice the pex pipe connection just above the firebox

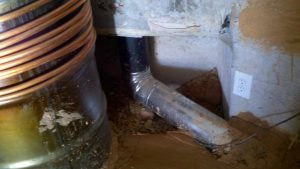
Exhaust returning from the bench going out of the house