I hate to say this, but I fell down on the job of taking pictures of the rebuild, so I’ll do my best to fill in the gaps with descriptions.
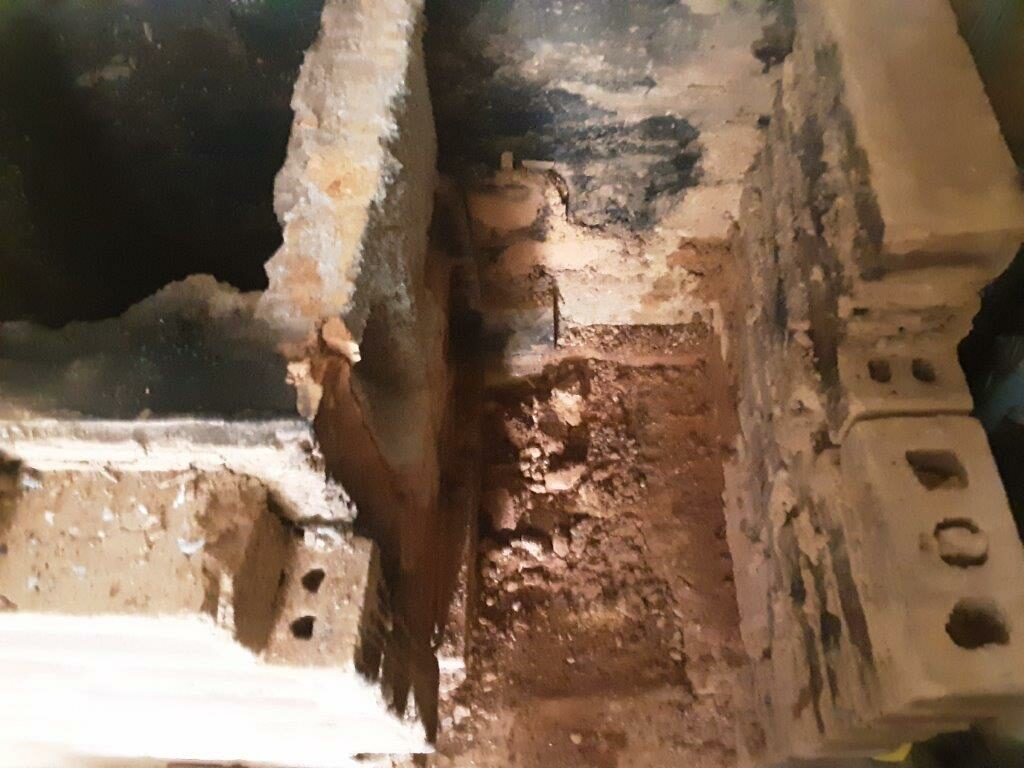
This shows the beginning sculpting of the back riser, and the first level packing of both left and right sides with the perlite clay mix behind the fire bricks.
Front view of same construction detail.
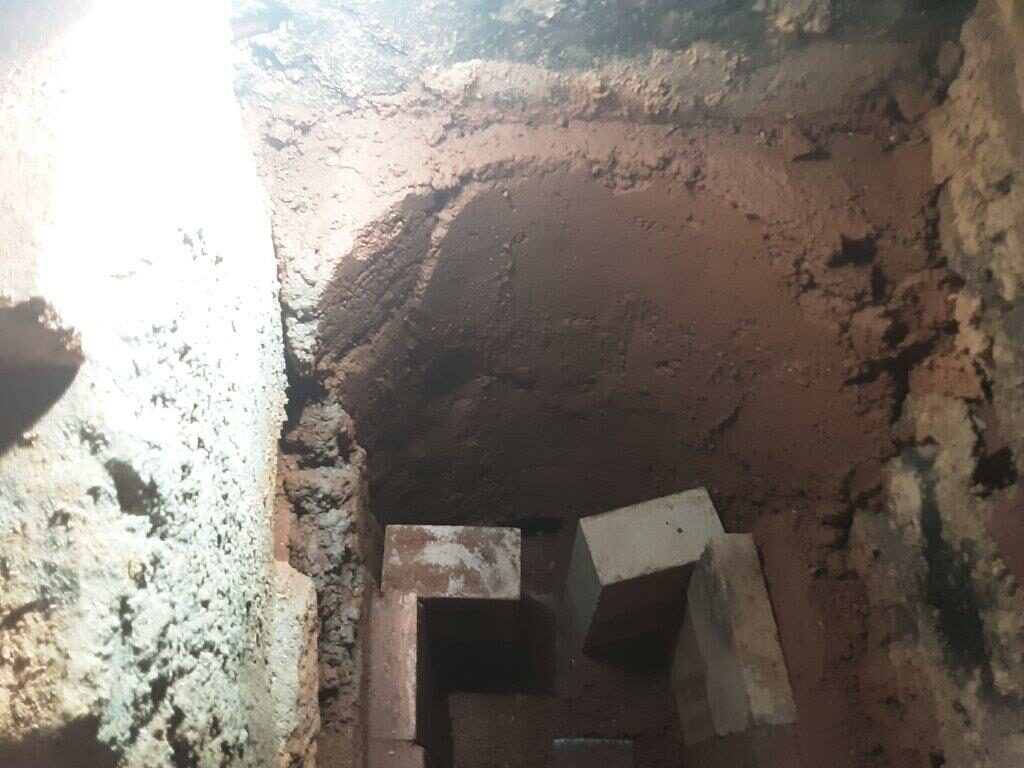
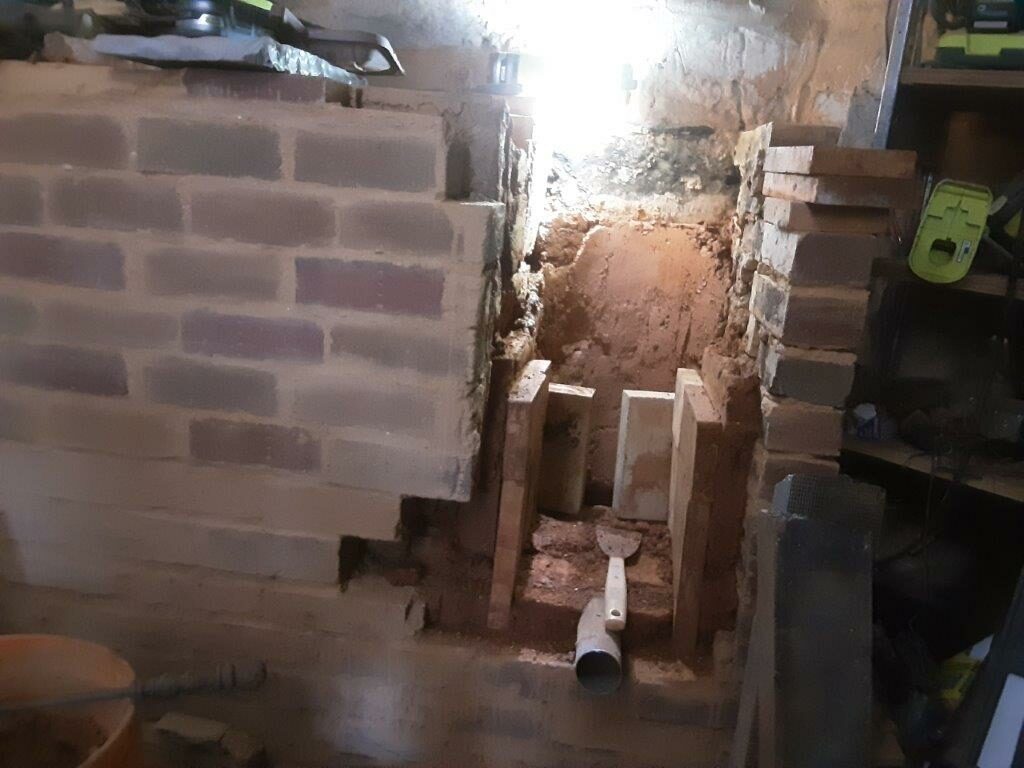
Again apologies for not following the construction more closely with pictures. The level separation between the firebox and the secondary burn chamber was made using a cast refractory cement slab, since the fire bricks were not really long enough without slanting them in or robbing more space from the firebox. The door and frame were welded up by a friend , just a few angle pieces and some flat stock. The glass is set in the frame in a bed of clay, with a woven fiberglass gasket running around the edge. I’ll try and get some more detail pics on the door frame later. The frame is held in place with a piece of steel rod welded to the back of the flat stock and embedded in the clay on both sides of the fire bricks
In the old DSR I used the glass stove top as the top of the secondary burn chamber, but in this one I actually lowered the whole construction several inches below the old level to make room for a space between the top of that chamber and the glass stove top. Again I used cast refractory cement slabs for that internal ceiling, and in this version of the stove the exhaust is on top instead of to the side.
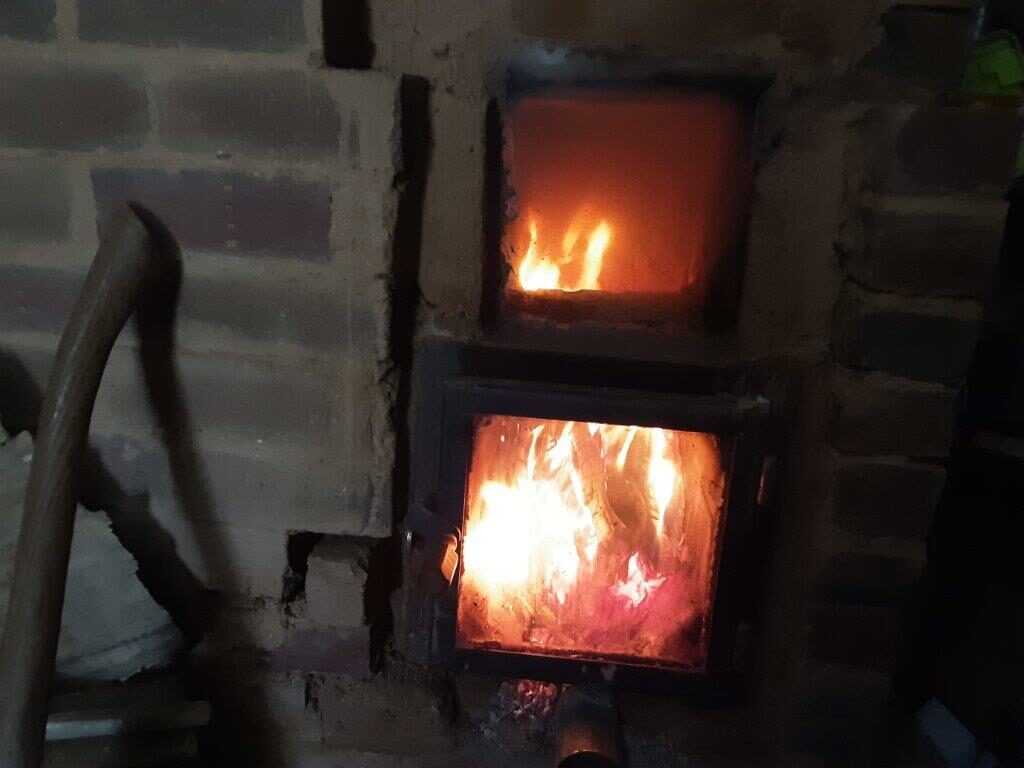
Overall this unit is performing better in all ways. I still use the ceramic fiber blanket to push the heat over to the water tank most of the time, but when it is not in place, temperature checks show less intense heat in single spots, but greater heat overall. I have not had a lot of time to play with this version in terms of taking lots of measurements, but it is easily hitting 1000 plus degrees,
I also have started a burn technique after it hits the coaling stage of throwing in a couple small pieces of wood to help keep the after burner ignited, and I believe in this way I get a more complete burn during the coaling stage. Of course this falls under the heading of playing with the fire, so when I don’t have a lot of time, I just load a second half load or so of wood right on top of the coals, close the door and walk away.
I did leave out some of the finer details in my haste to get this working. Once again I seemed to only have time to coast a few days on passive solar heat while rushing to implement the new build to restore a more comfortable temperature.
The stumbling block in the top chamber is not yet in place, and I kept the secondary air supply at the bottom of the heat riser, although I think the design showed that was no longer necessary. Truth be told I haven’t had a lot of time to revisit the details of the design and was going mostly by memory and expediency. There are a couple refinements I might like to add, but I’m quite pleased in general with this latest iteration.