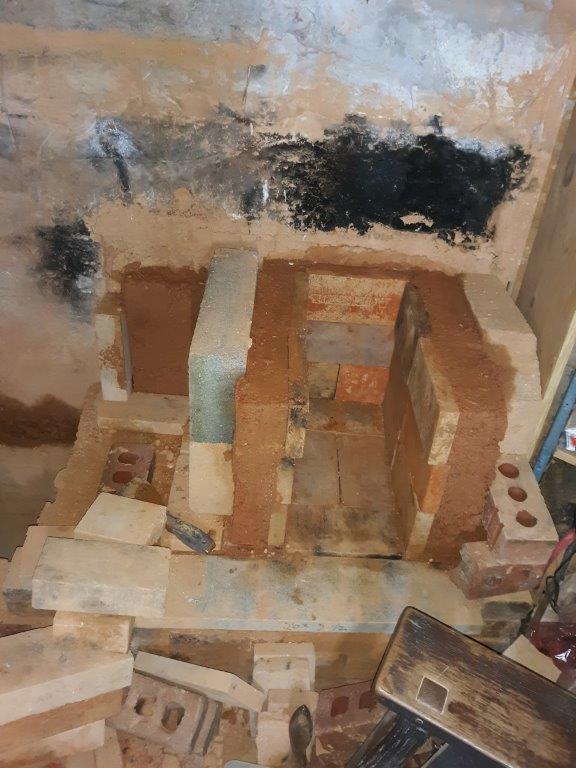
Well, a new heating season is begun and with it a new iteration of the previous Rocket stove, called a Double Shoebox Rocket.
The group over at the Donkey forum did some experimentation back in 2018 coming up with this concept, which was later abandoned by Peter van den Berg, the chief experimenter on the project, as being too unreliable.
By the time he had moved on to a different design I had already started building, it was getting colder, and looking at the elements that seemed to make the DSR run away with the burn, they did not seem as relevant to my design, so I just continued to build according to his best guess dimensions.
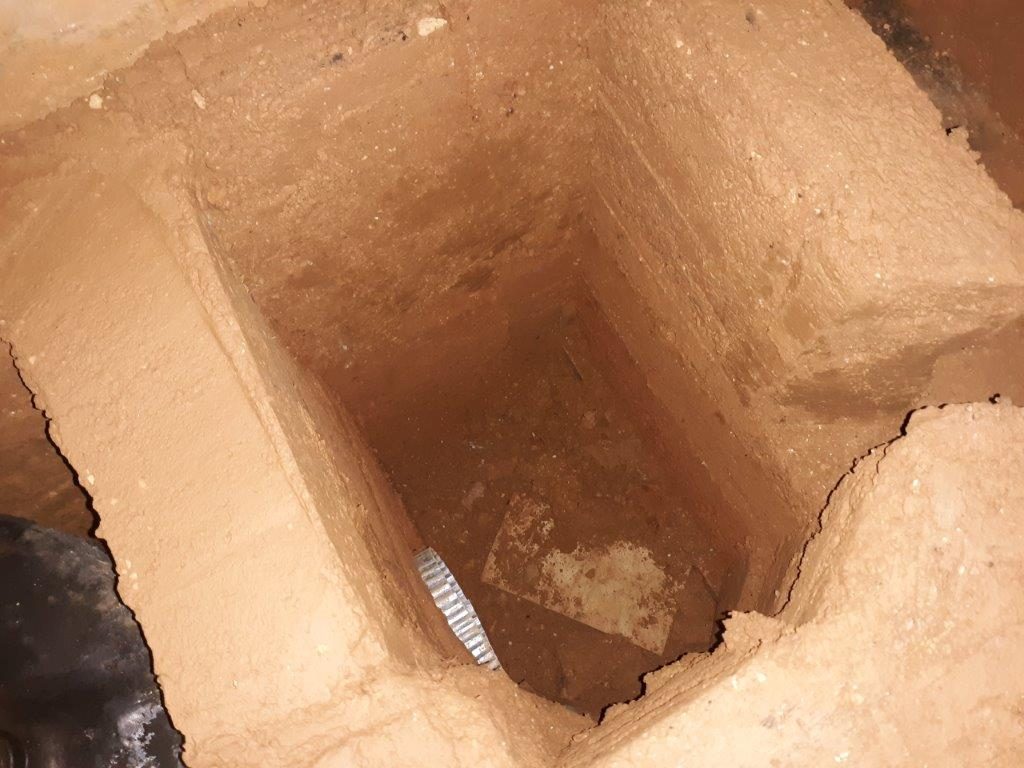
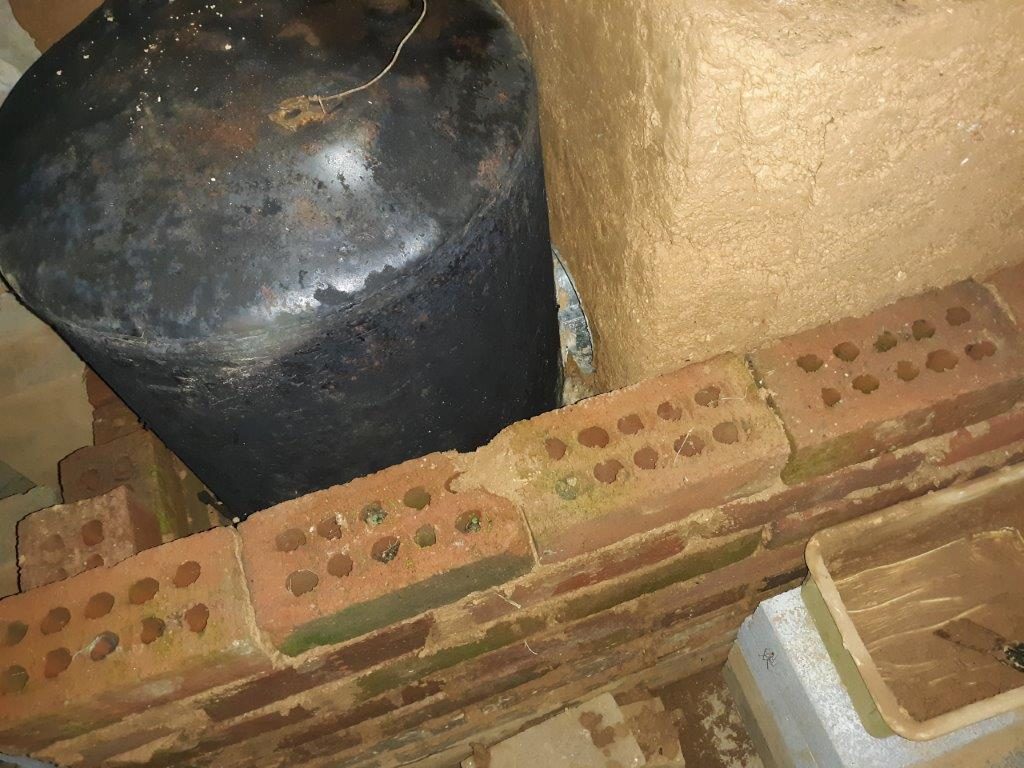
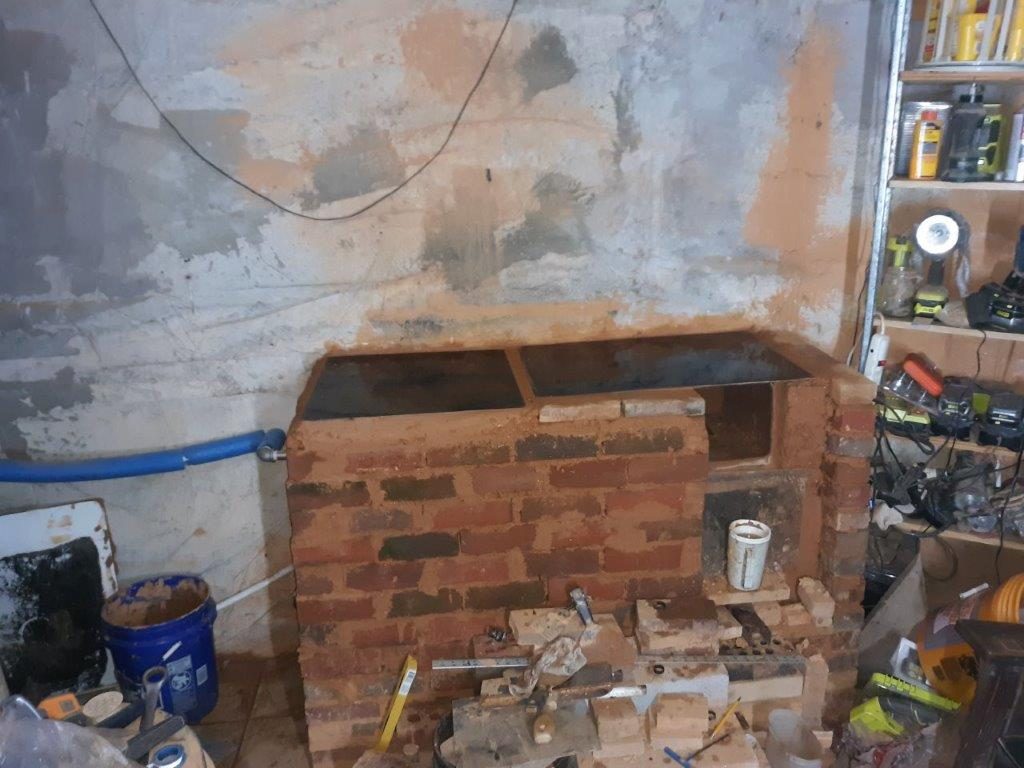
My 2018 build used a number of walls that were simply formed of clay, or a clay perlite mix, and a couple of the sides around the water tank were taken from an old washing machine, with some fiberglass insulation hastily fastened to the inside of the walls, with clay slopped around the top and edges to give a seal.
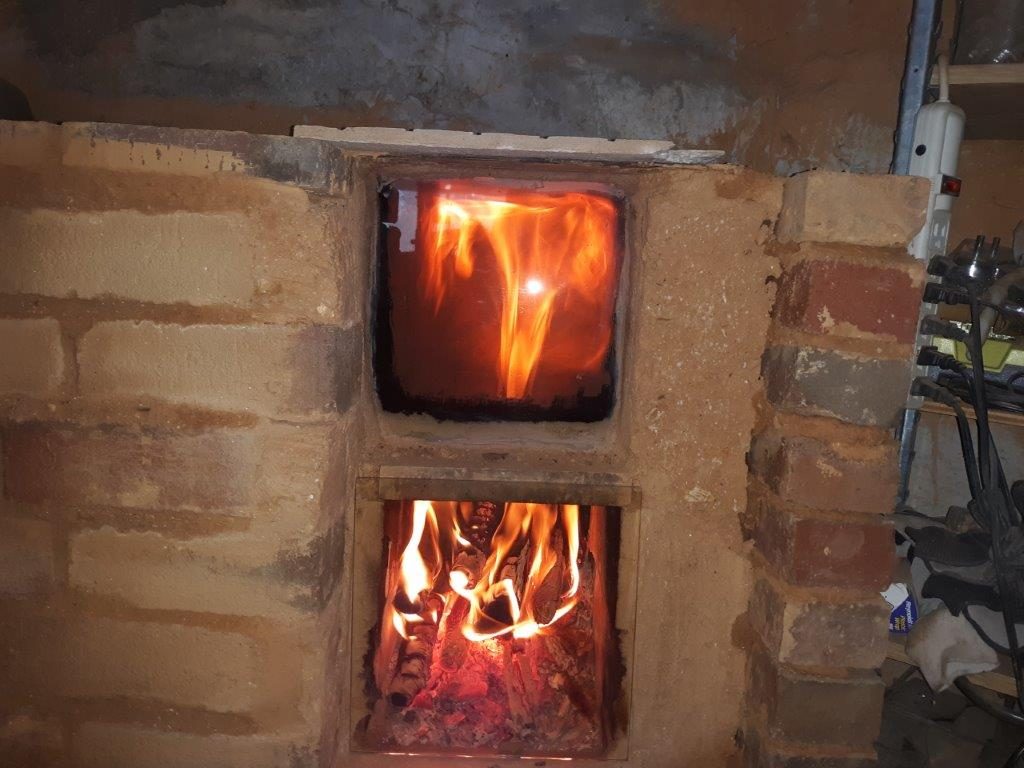
The door to the burn chamber, as in many projects done on the cheap was a problem until I finally bought a couple pieces of neoceram stove glass, which cost more than all the previous stoves from the last several years.
While this new glass has proved very durable, having a door that really is robust requires more than just a glass pane, so that is still in the development phase, although I’m pretty sure I have a workable solution which will likely happen sometime during this season. For now I continue to get a potholder if the glass is hot, and as gently as possible remove it and then wedge it back into place.
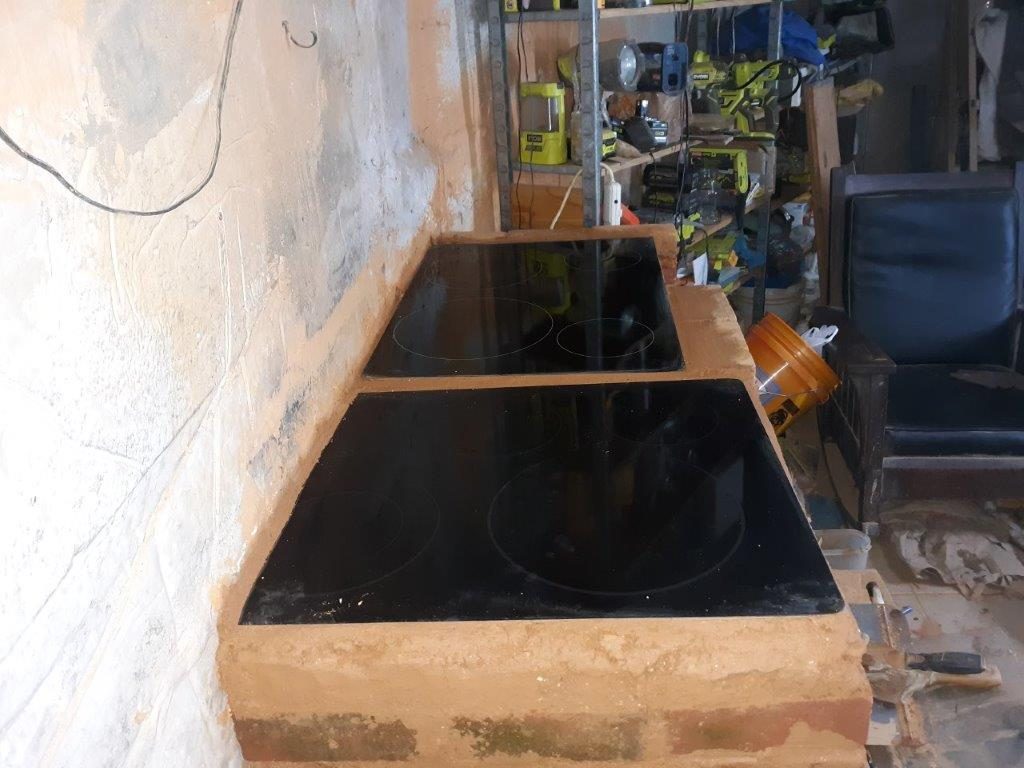
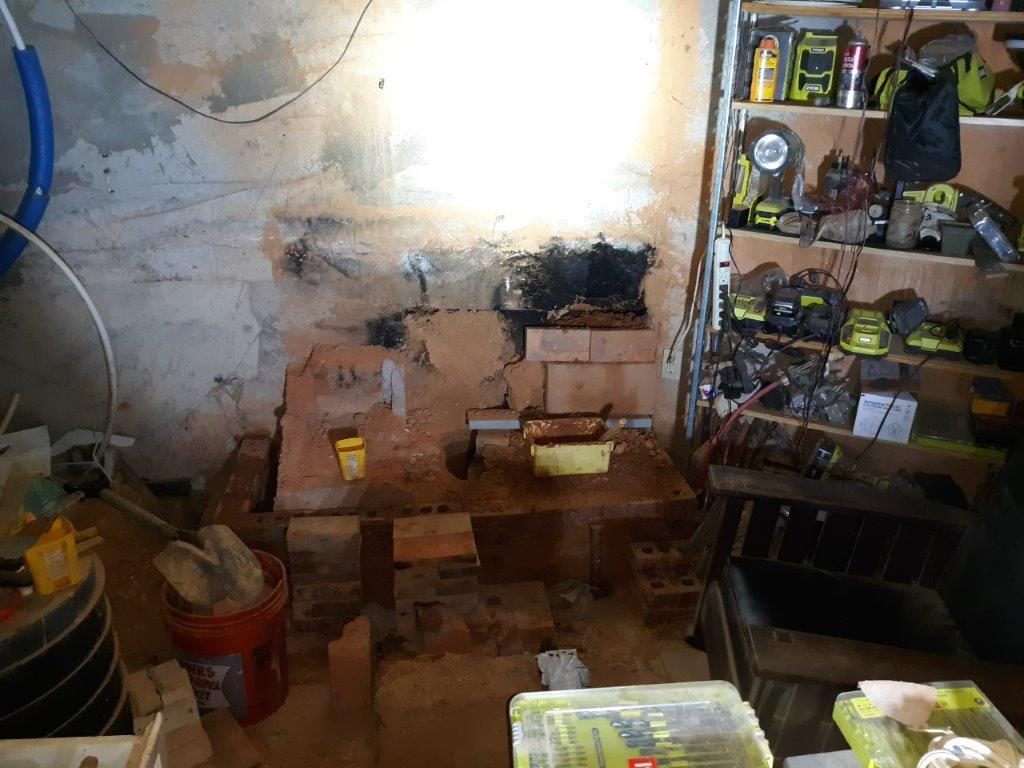
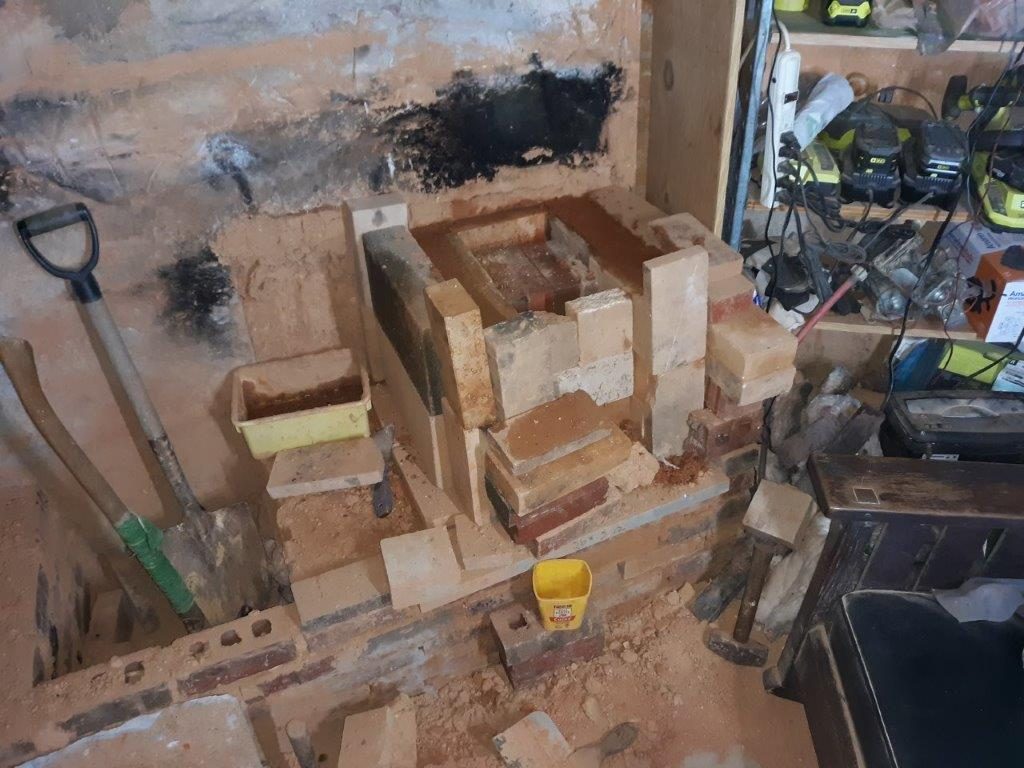
The other main change is the use of bricks to give a substantial continuous exterior that is well sealed and even looks a little better.
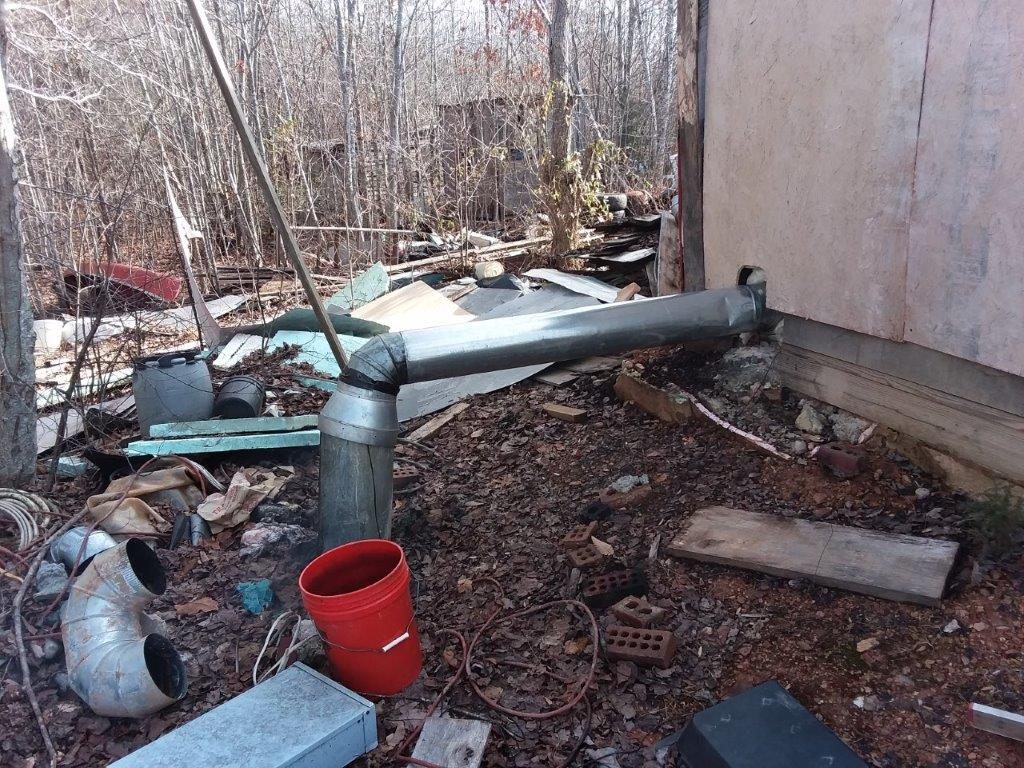
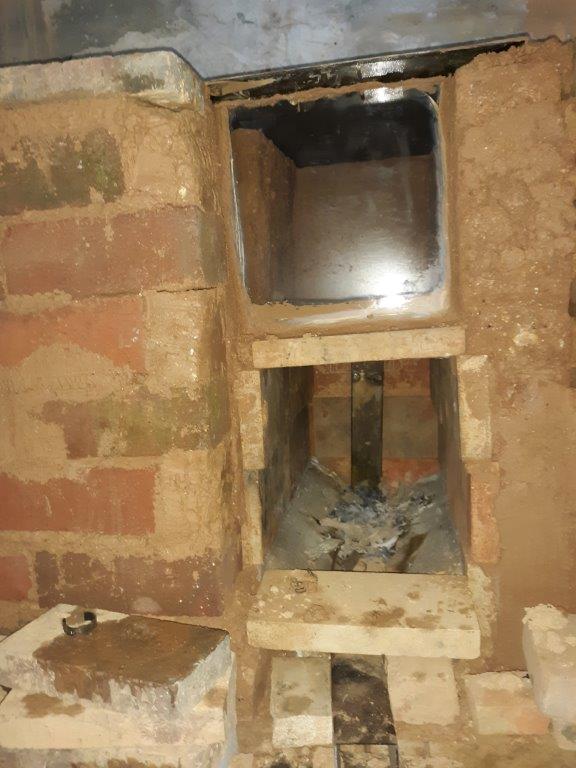
One other important note, my exhaust was set up for a low temperature ground level “stack” and to use the push of the j tube rather than the pull of a draft. Since the first batch box conversion about three years I found it necessary to install a fan at the end of the exhaust pipe to aid with the draft. This totally eliminates smoke at start up and keeps the draft more even.
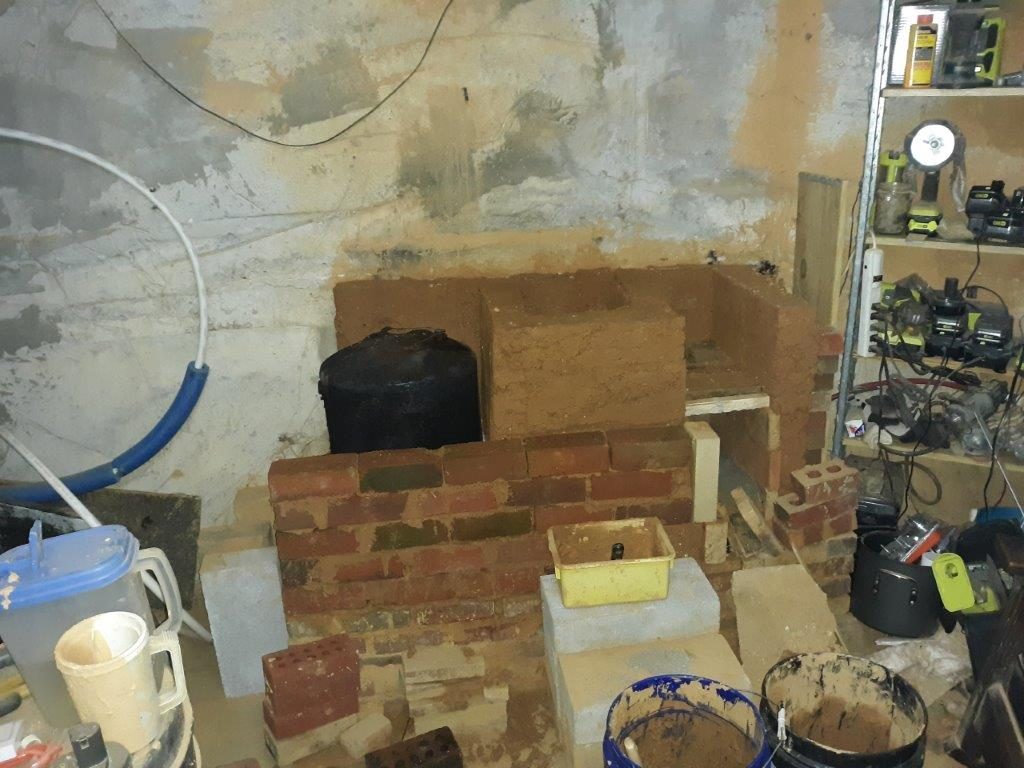

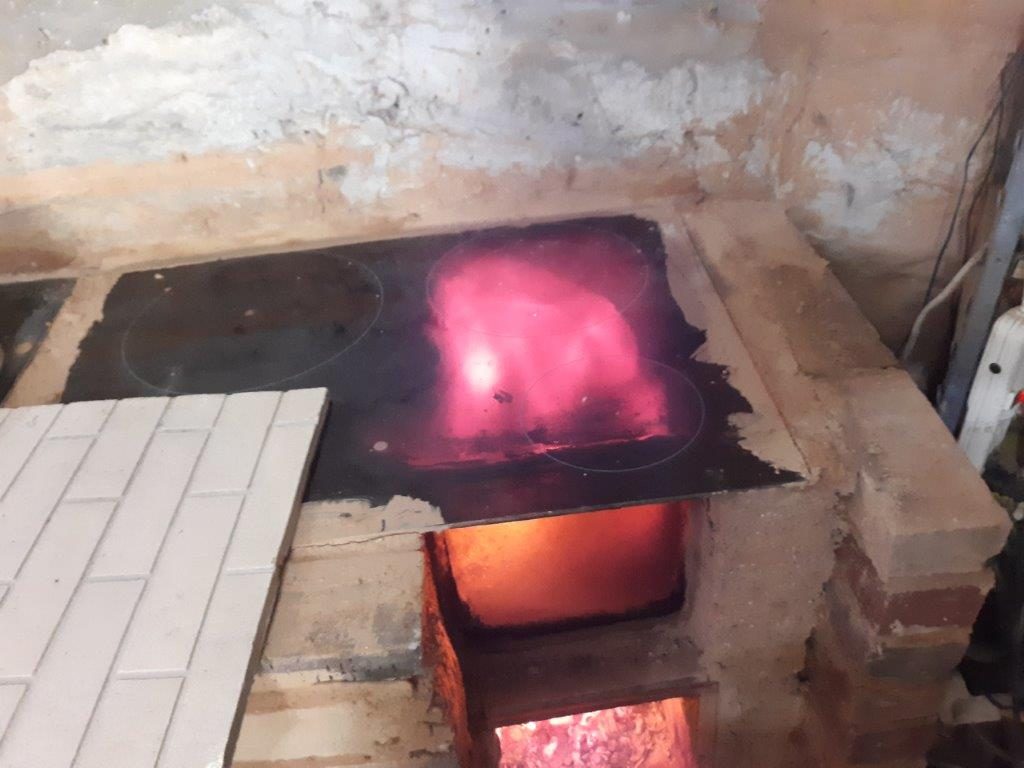
cooking can be done here, very carefully, but I like the idea of more insulation to increase efficiency of the burn. The second chamber still has plenty of heat for a more reasonable cooking surface, and even the water tank chamber can keep things warm