

The month has been wet and cold, every week seems to be a combination of a few sunny often warm days, followed be several days of wet, sometimes intense rain days, with a couple small episodes of snowfall, but nothing lasting more than a day or so.
The roof has held up fairly well in it’s temporary configuration, and there will likely be no changes made till summer, although occasionally the wind rattles the metal sheets and I cross my fingers .
The increased solar panels and battery bank size have weathered the many days in a row at times with no real trouble. I do treat the sunny days with an extra bit of personal energy to take care of the things that draw the most electricity. Charging my tool batteries, washing clothes, etc, and though they don’t take great amounts of energy or time, remembering to do them in a timely manner can be a challenge, since sunny days I’m more likely to be outside as well.
I discovered this past weekend that my charge controller is not a true MPPT one. This means the 36 volt current coming from the solar panels has largely been wasted, and although I had been planning to buy a new small AC refrigerator to replace the propane one, I decided to scrap that idea and started looking for DC refrigerators in an effort to save money and conserve energy.
Which is the next project, although it will likely be a slow paced one. It will involve getting a new dc compressor charged with the new world standard refrigerant. Isobutane and isopropane. I finally found a somewhat obscure document last night documenting test results from an experiment that replaced freon R134a in a conventional fridge with R600a . It will require a new compressor, and I will try and find a shop to do that for me,(as soon as I find a suitable refrigerator body for my new frankenstein monster refrigerator.
While new dc high efficiency fridges cost upwards of 1200$, the one I plan to put together should cost around 400. It will require about 30% less electricity than an ac refrigerator which requires an inverter, and there should also be some efficiency gains with the new coolant.
After writing the last couple paragraphs I got a new charge controller in the mail, wonderful, it is multiplying amperage just like it’s supposed to, and has a couple of other features I will be exploring, but that is one part of the energy solution here.
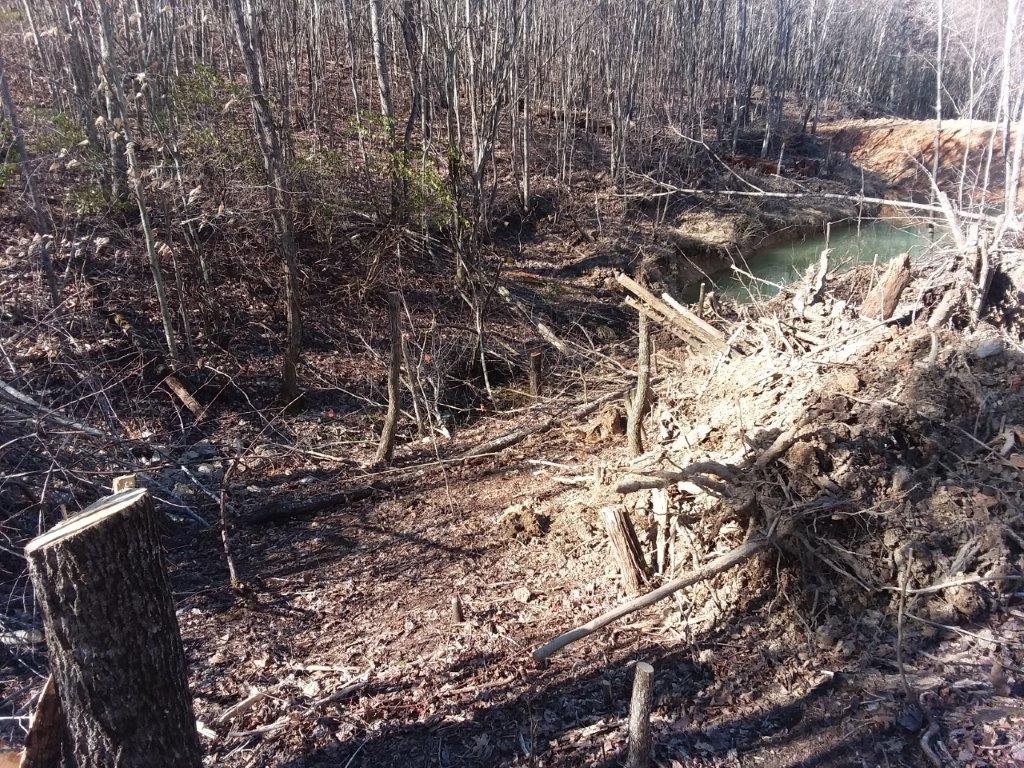
The ponds got some more attention over the last few days of the month, everything from chipping up brush piles and general cleanup of the surrounding areas.
On the keeping machinery functional side of things I was able to start and run both chippers and that will help keep gas fresh and carburetors clean.
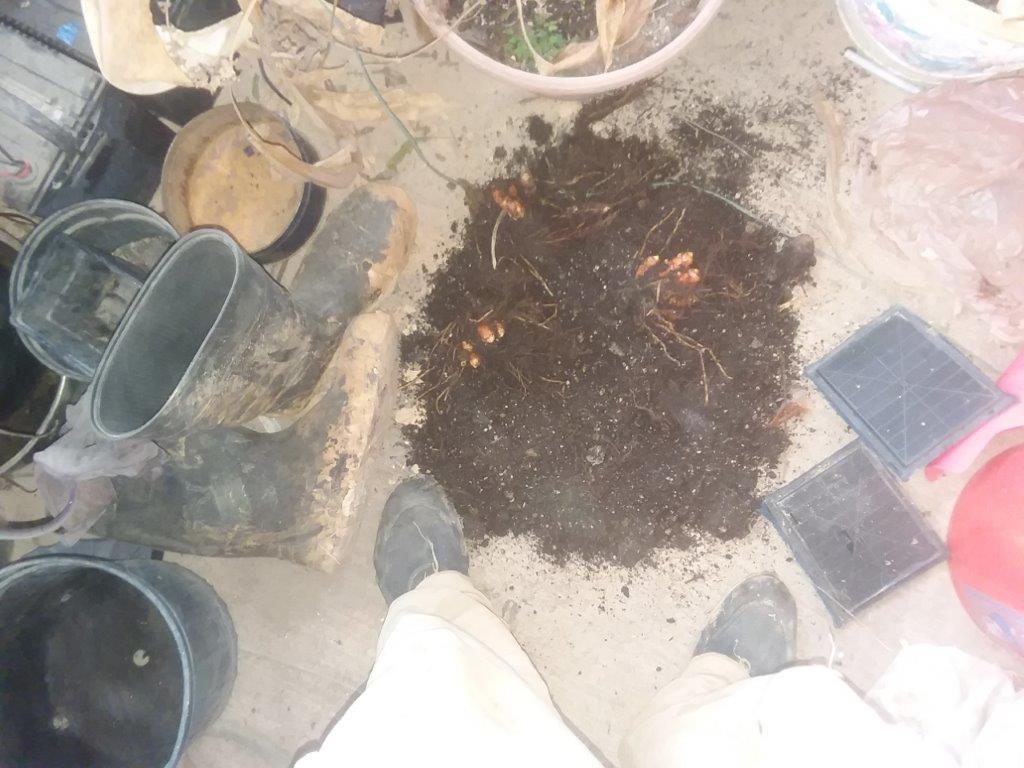
As a final act with the backhoe in February I dug up the rosa rugosa in the garden, it develops a net of roots underground, and I’m very curious to find out how sensitive it may be to being separated and transplanted. I have about half of the clump still in a big ball of earth just in case the individual transplants don’t survive with the minimal care I’ve given them.
The DSR stove has been performing better since I installed the steel fittings at the hot water exit from the tank. It is easy to take a temperature reading there to monitor the heat of the tank, but the location of the fitting on the side of the tank makes the system a bit awkward in use, and normal operation heating unpressurized water wastes a fair amount of water , and I plan to only use tanks from now on with a hot water fitting on the top of the tank.
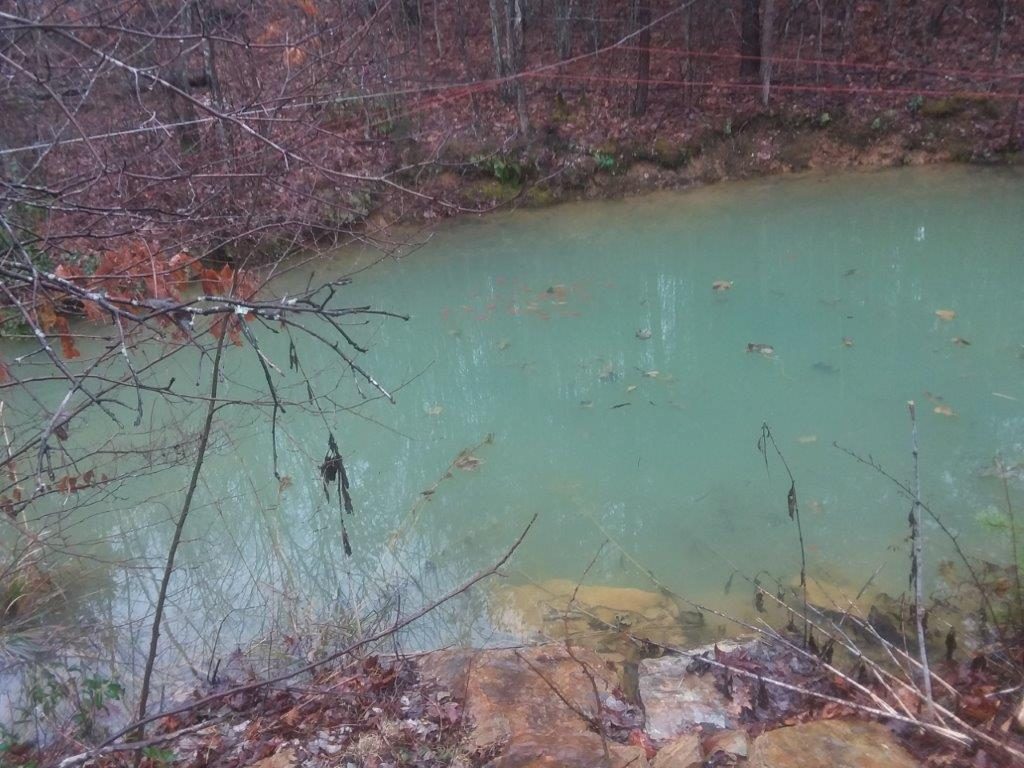
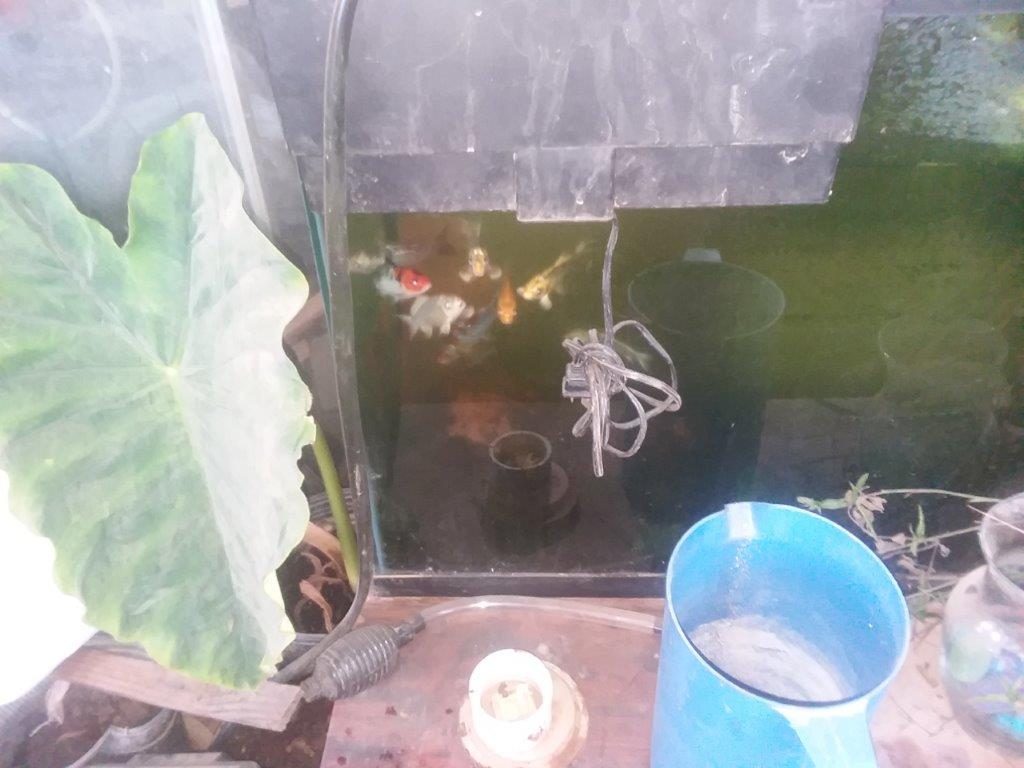
The Koi are doing quite well, I feed several times a day, and wait for them to come to the top of the tank before I start dropping in food, and, when they all go back to the bottom of the tank I stop feeding. This means there isn’t extra food floating around, and they are slowly losing their fear of me.
I have a plan to enlarge the kitchen garden pond into a much larger koi pond, but probably in the short term I will reinforce the repairs on one of the smaller preformed plastic ponds and use it for the first part of the summer while their main pond is taking shape. I plan to buy a regular pond liner and really make an attempt to keep the water clear, possibly even have it deep enough to swim in.
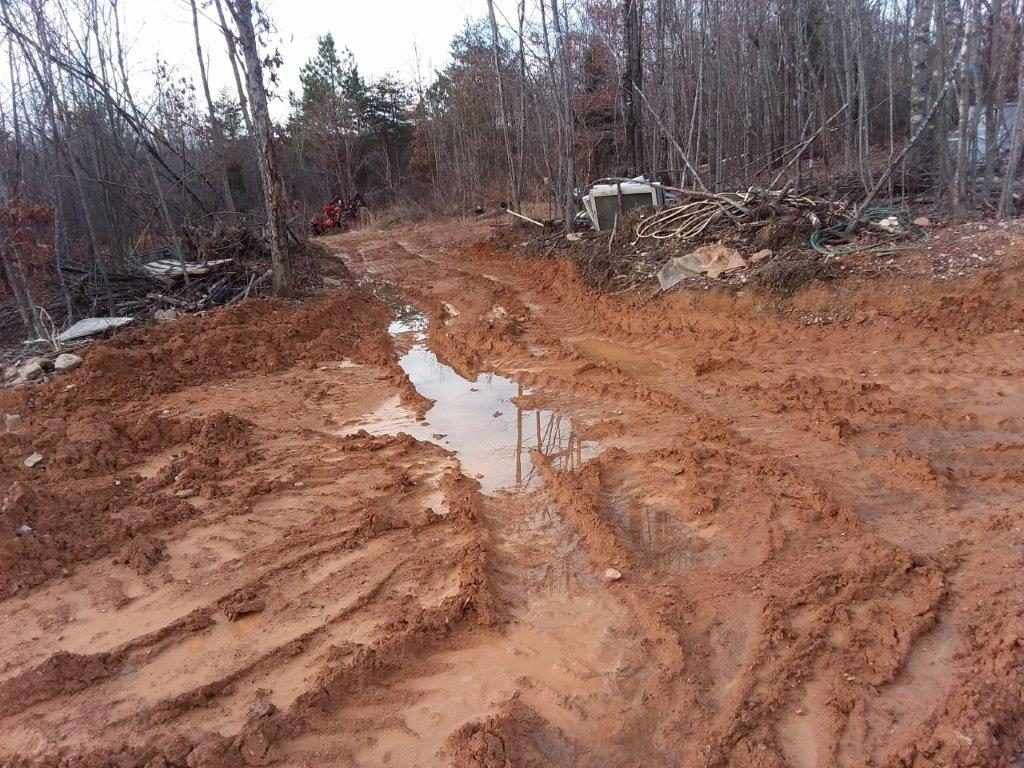
The month has been pretty slow as far as backhoe work, and the rush I put on last month during a dryer period was well timed and made a few critical additions to keep further possible flooding under control.
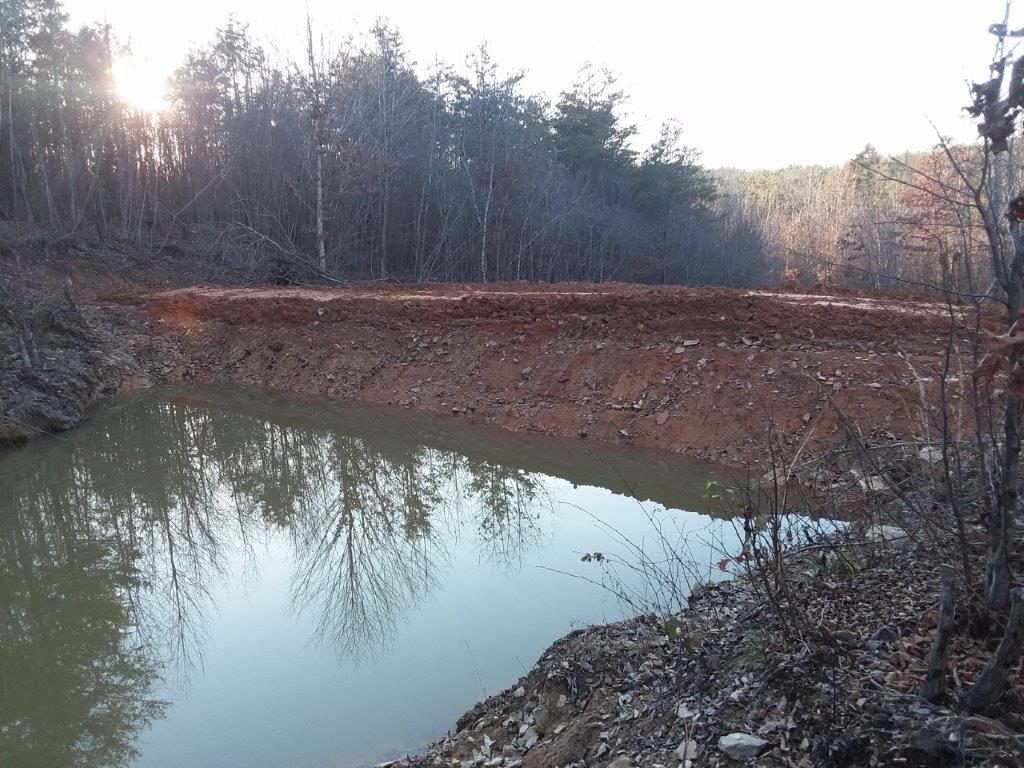
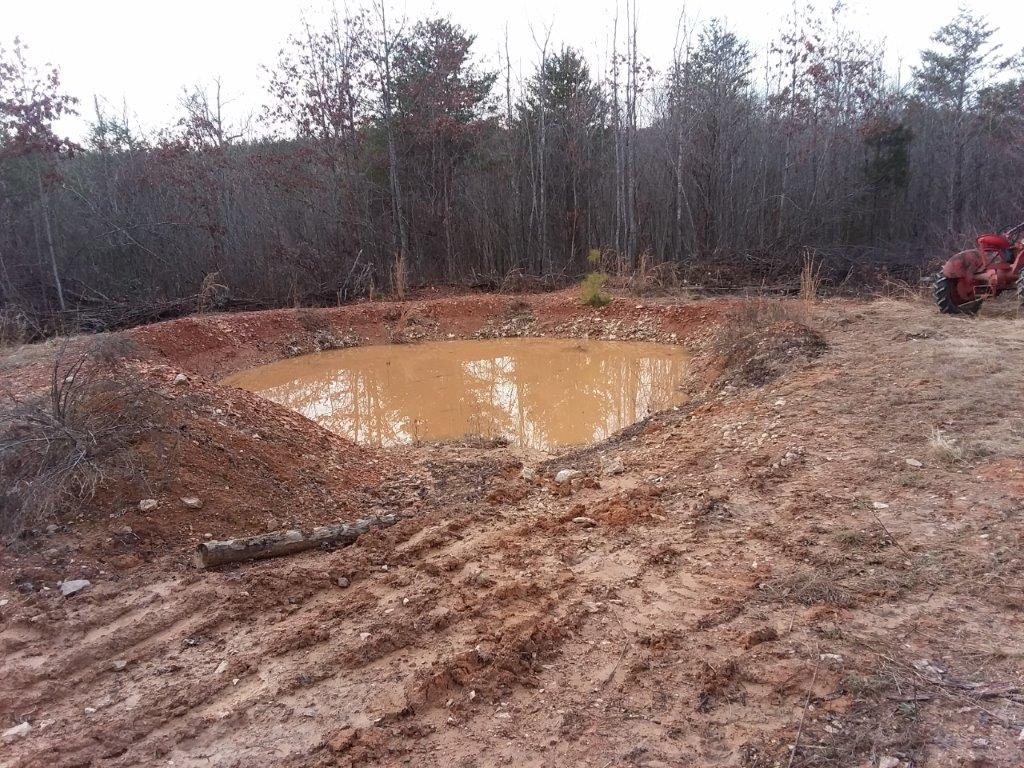
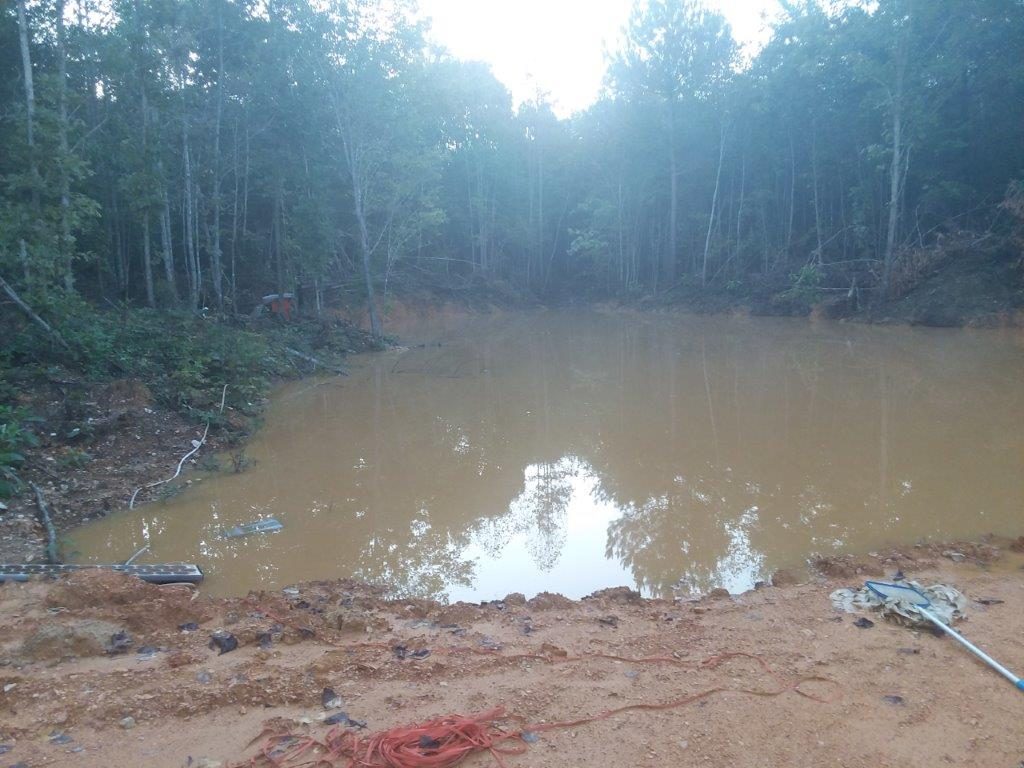
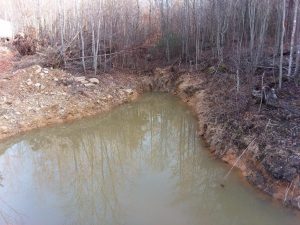
Mostly though this month has had more moderate rainfall,and the main work started was installation of a larger drain in the upper dam. At first it was quite piecemeal, with the pipe only half way through the dam. This allowed the pipe to be put in below the water level at the time and then digging out the couple feet that remained allowed the water to flow to the drain pipe.
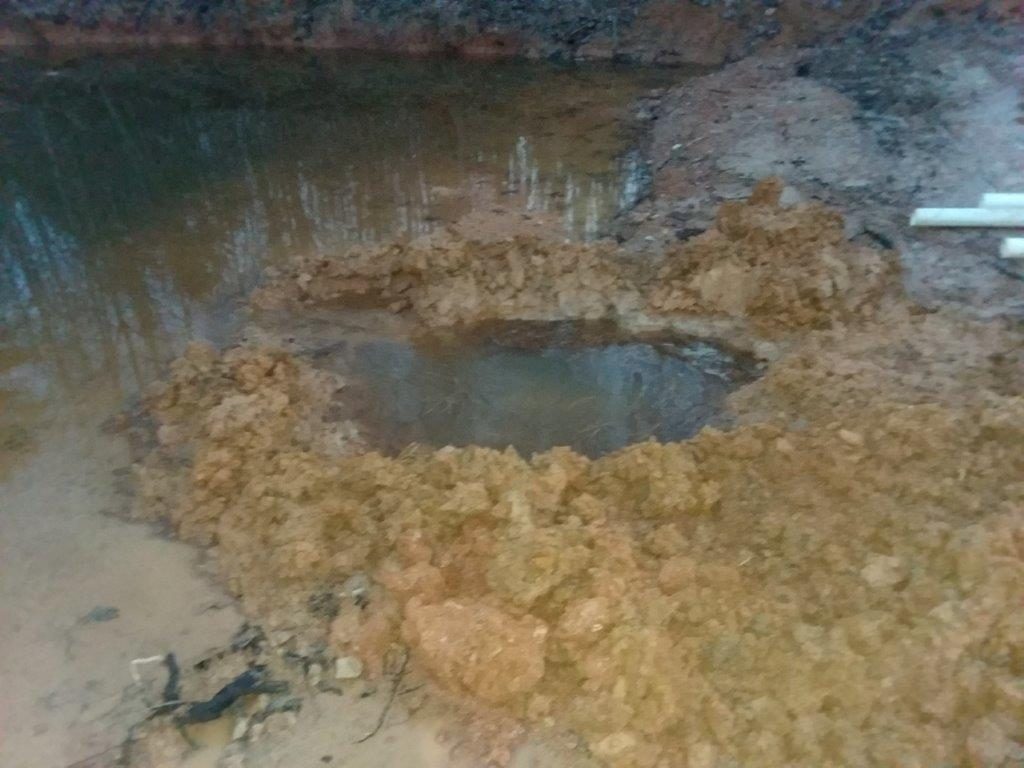

With the water level brought down substantially by the 3 inch temporary drain, lower rainfall and continuous running of the existing 1 inch pipe drain got the water level down much further. Finally this week the top of the dam had dried enough to do a proper installation of the drain pipe at an even lower level. At present I need the pond to stay at least down to this level, but when all the excavation is completed there will be a stand pipe placed on the drain regulating the water level at whatever is desired.
January also saw the chipper back in action,and more work cleaning the back of the pond of debris is needed so more clean clay can be excavated for the dam wall. The wood chips will also come in handy for mulch projects.
The lower water level will dry out the access routes on both sides of the dam, but it is likely that regardless of rainfall, the final dam height will not be reached until July or August simply because of soil saturation and the time it will take to dry everything out really well.
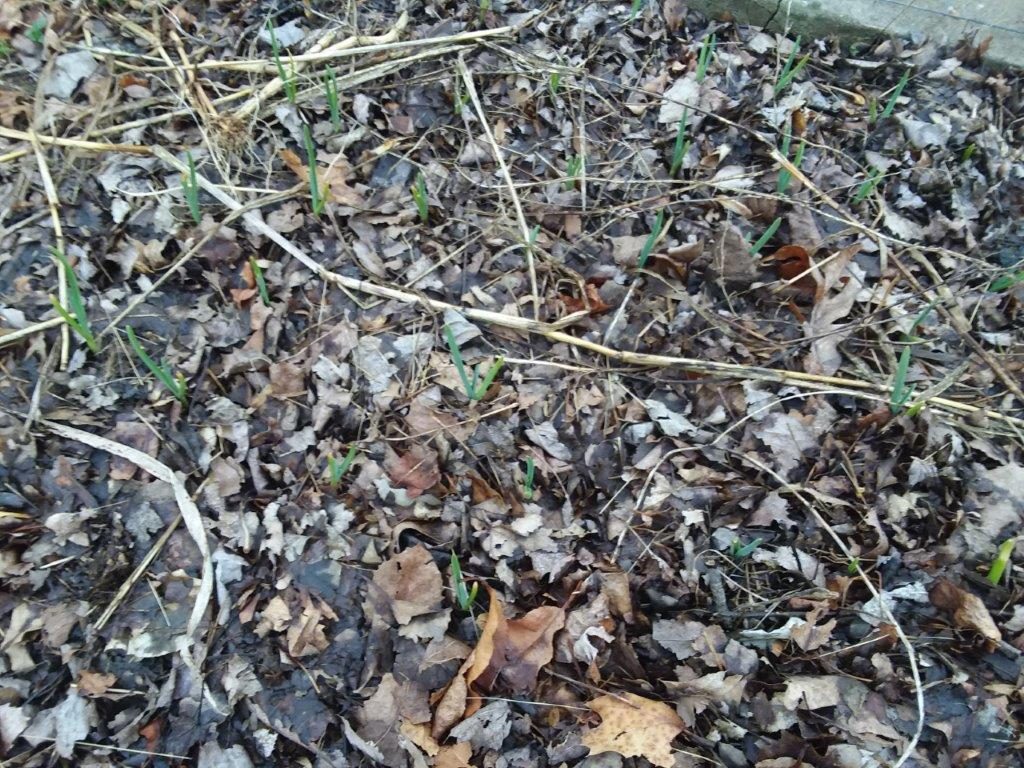
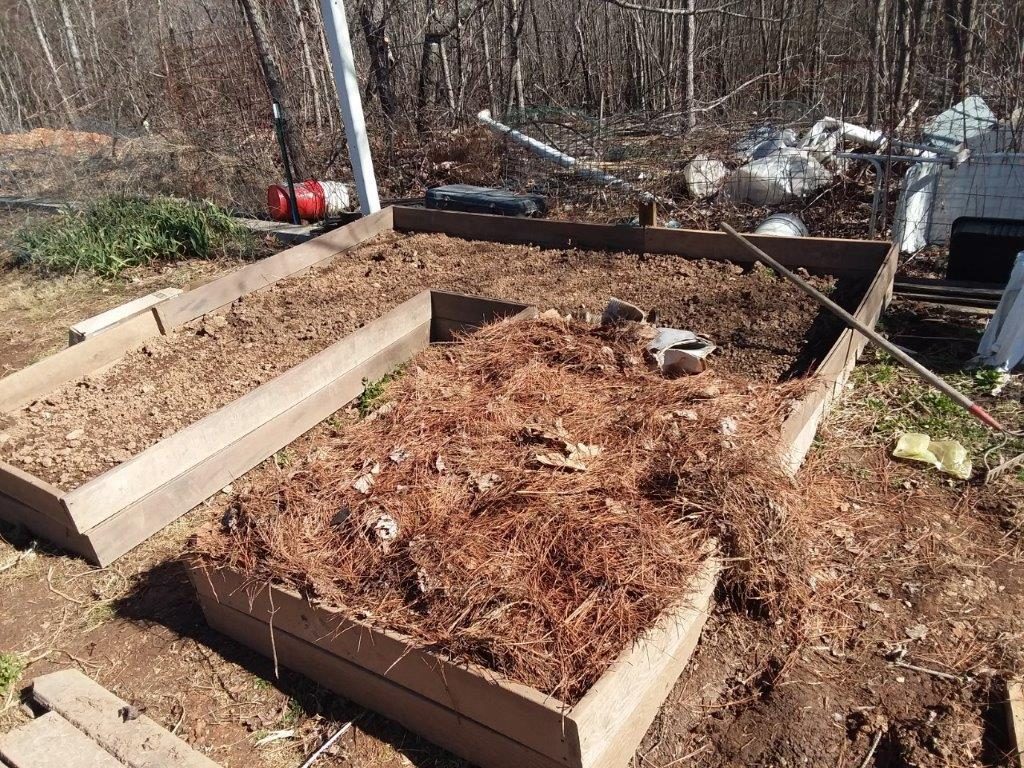
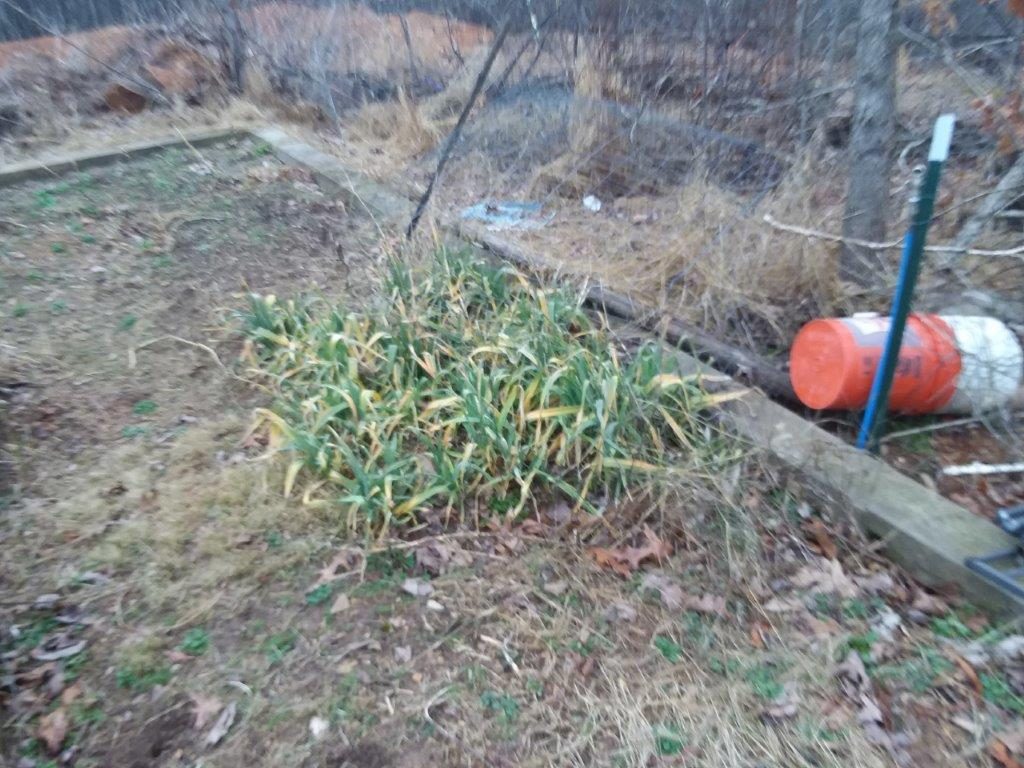
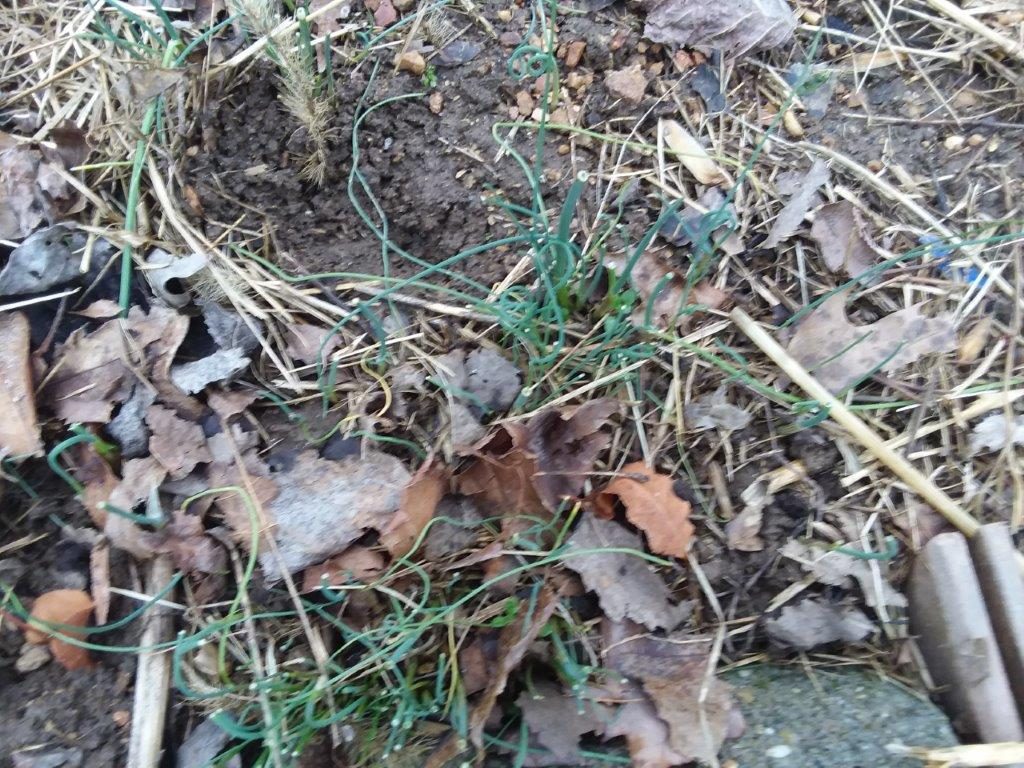
The garlic is doing well in the garden, these new plants are a calculated upgrade to what had been planted in other years which I got from the local farmer’s market. the technique was simple, clean the soil, pulling really big taproots and wire grass. Then a layer of cardboard, punching a hole for each clove, setting them in place, and then covering them with about three to four inches of grass and leaves finely chopped with the lawnmower.
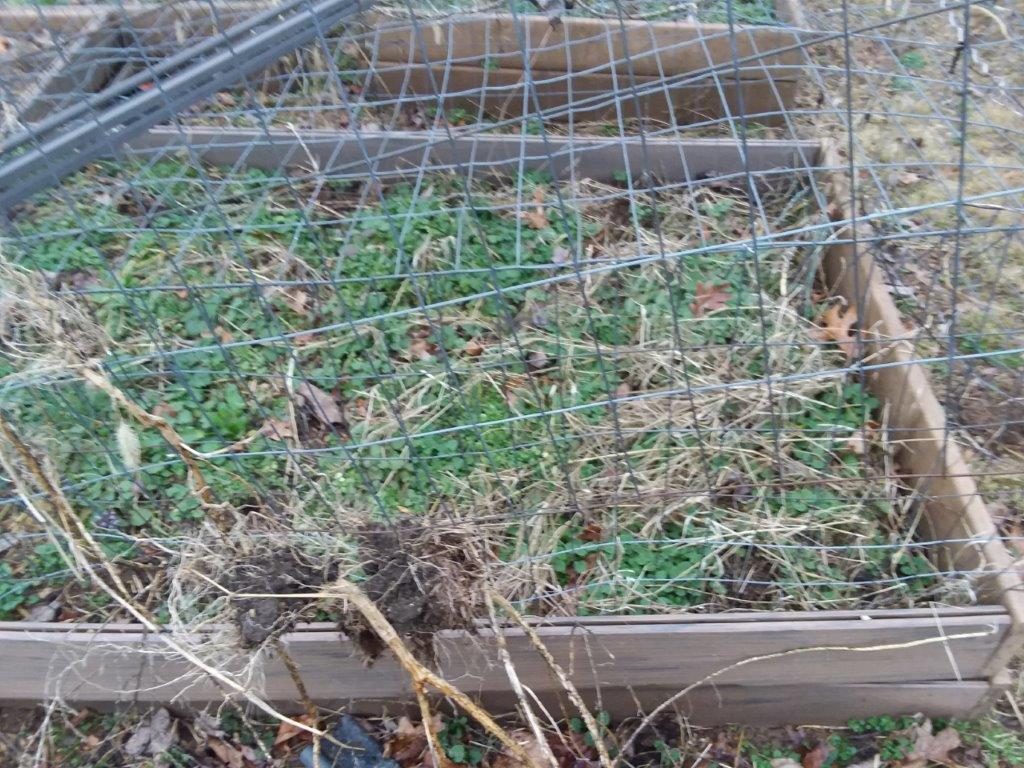
Other beds need some serious attention, grass invaded most of the strawberries, and the underground runners make it tough to weed, so very soon I will be going through making a hard choice of sacrificing everything to a deep cardboard/newspaper mulch, followed by pine needles, and new plants set in a handful of fresh soil within the pine needles. I may also opt for some drip lines under the mulch.
The small Koi I bought in the fall have done quite well inside this winter. I set up a separate solar panel and a couple batteries to keep a small filter going, and gradually I’m getting them to be a bit bolder coming up for food. The goal is to train them to take food from my hand.
This of course takes the idea of a Koi pond out of the realm of a possibility into the world of necessity. And the more I think about it, the more likely it will become an extension of the pond at the corner of the kitchen garden. But of course much bigger and fancier than the existing small pond.
It will eventually be fed from part of the house roof drain, so that should be one of the cleaner sources of water. And of course it will be much closer to the house, where I can keep my eye on it. It’s tough to think about herons bothering goldfish, but even more difficult to think about them eating an expensive Koi.
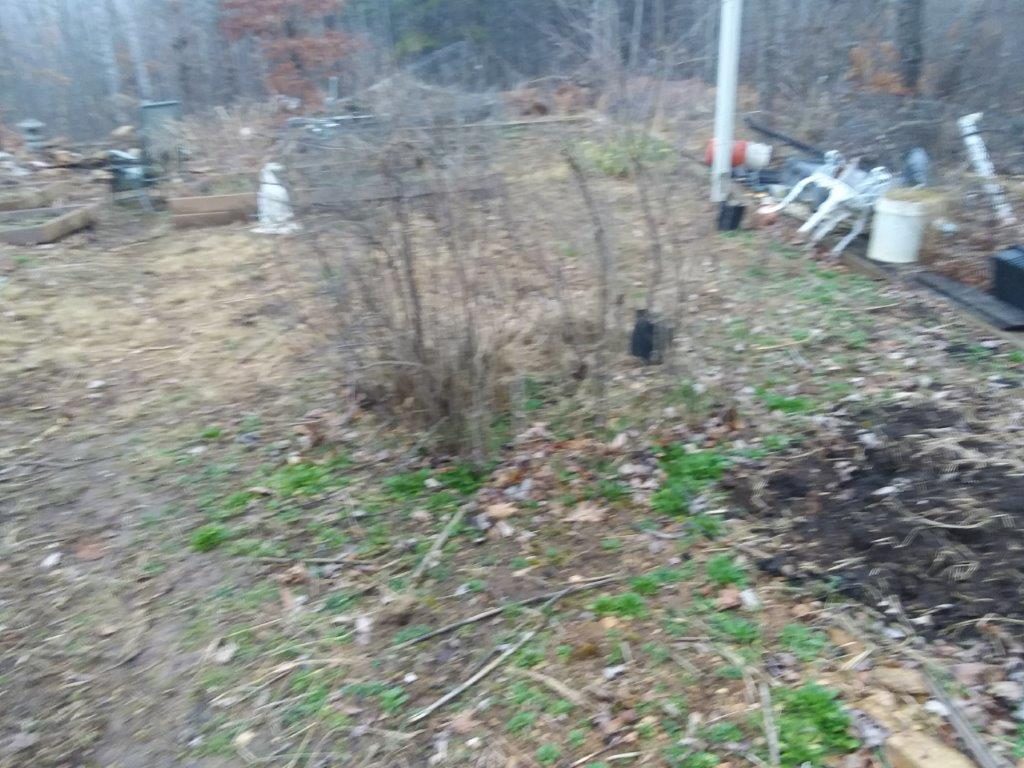
There are other changes planned for the spring, moving the banana plants away from the house, relocating a rose bush/clump that has taken over too much of the garden, along with a cherry tree that dove down into the soil there and to lift the pot it was in would likely kill the tree.
Swales to build, and trees to order and plant. I’m currently thinking about hundreds of whips,- willow, locust,plum, hawthorne, mulberry, and many others.
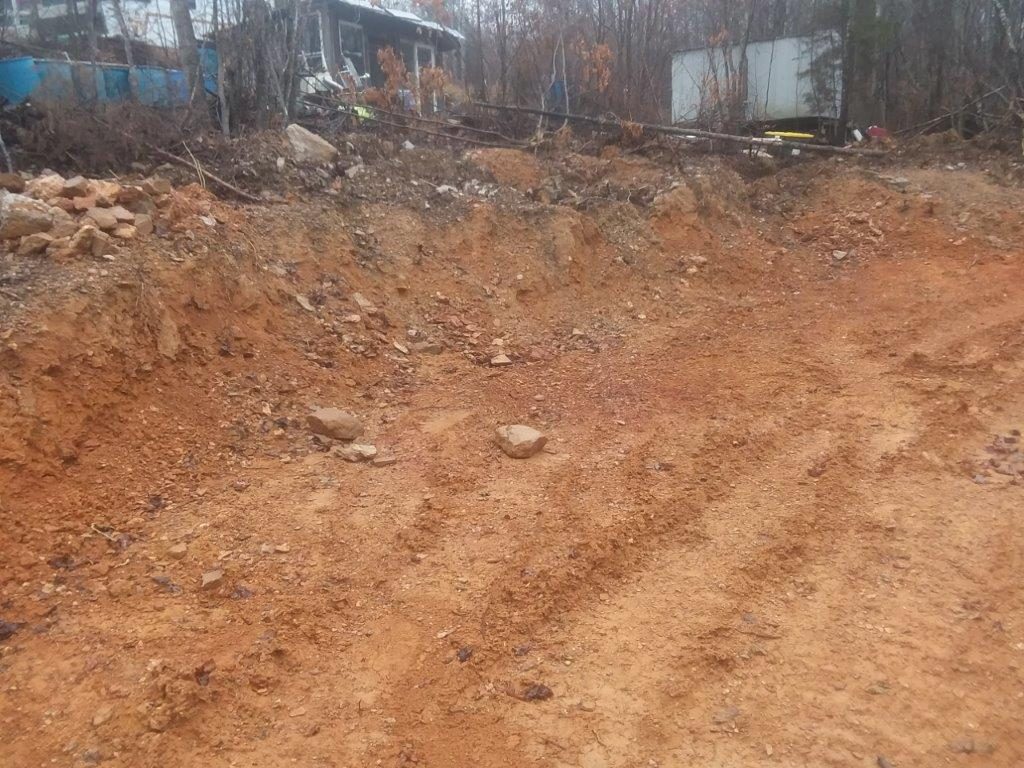
Down below the lower greenhouse is an area in front of a cut I made in the bank to get material for the middle pond. That area seems a likely place for a micro climate for the many figs I currently have in pots moving in and out of that greenhouse .
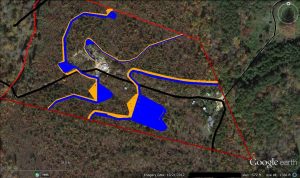
The red lines are general property boundaries, tan/yellow lines represent earthworks dams and swales, the blue areas are potential water stopped and held by the Earthworks according to general topography. These are the dams and ponds I’ll be referring to here. The general topography is going downhill from lower right to upper left, and the dams from right to left are 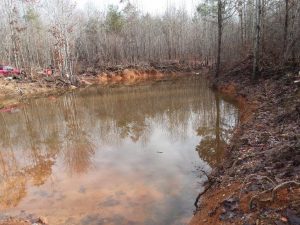
 upper dam,

 middle dam,
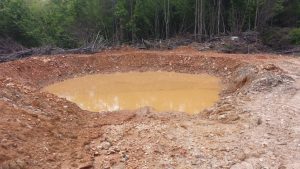 and contour pond. The pond just above the contour pond is really just a hole in the ground that doesn’t hold water, and i call it somewhat optimistically the ridge point pond. The very top pond is a potential gully dam , that may never actually be completed since it overlaps the property line and would require a joint cooperation .
__________________________________
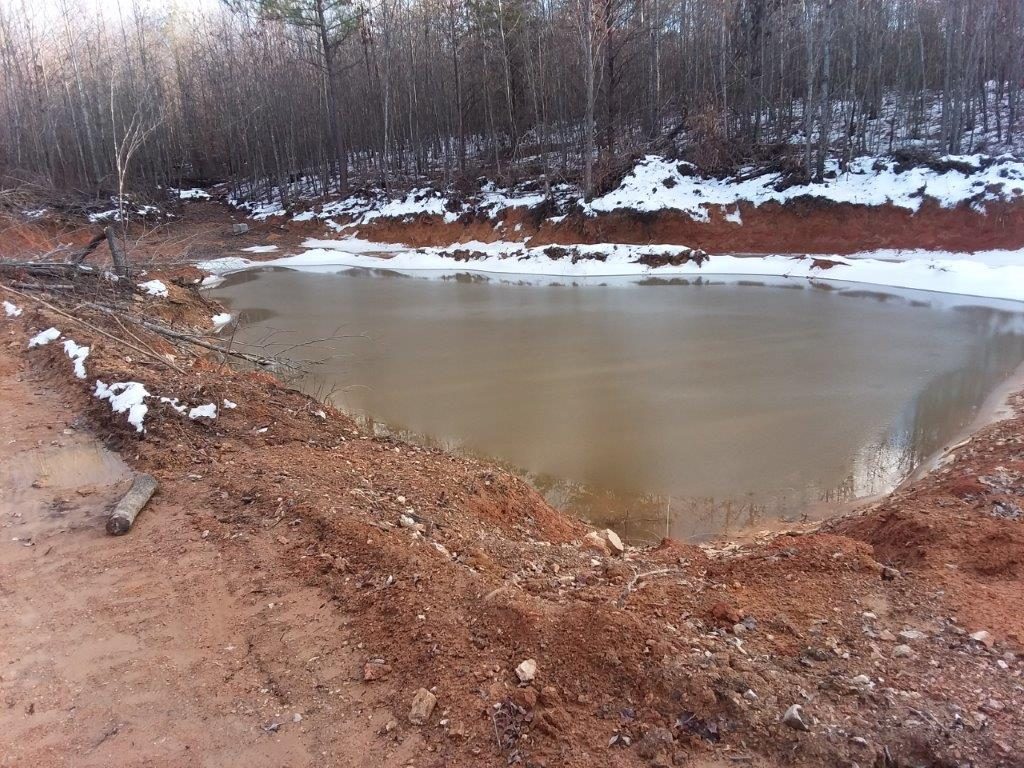
Another very nice rain, and fortunately the 2″ prediction didn’t turn into 8″, although at this point it hardly matters, the cold keeps the ground moisture from evaporating, and whatever falls at this point is just adding to the overall totals.
The middle dam has been raised now, and the connecting swale nicely tied in. This will allow any future water that threatens this dam to be automatically diverted over to the contour pond. This pond, which mostly has existed as a dry hole , finally started to fill with excess water from the main gully. My storages are really not totally keeping up with all the water falling, the dry days aren’t dry long enough to do any serious work with the backhoe, and the wet days are starting to defy my attempts at control, but the success of the connecting swale here means the next step is to focus in on the swale that extends beyond the contour pond. That is the next big opportunity in ground water storage and a safety valve to keep the contour pond from overflowing.
One of the lessons I have learned on a very experiential level is the old axiom about how the desert is a flood waiting to happen. When the ground is dry, the sun is hot, and machinery can work easily, it is sometimes difficult to imagine the same area overflowing with water. Thirsty plants in the summertime do not automatically bring floods and chaos to mind.
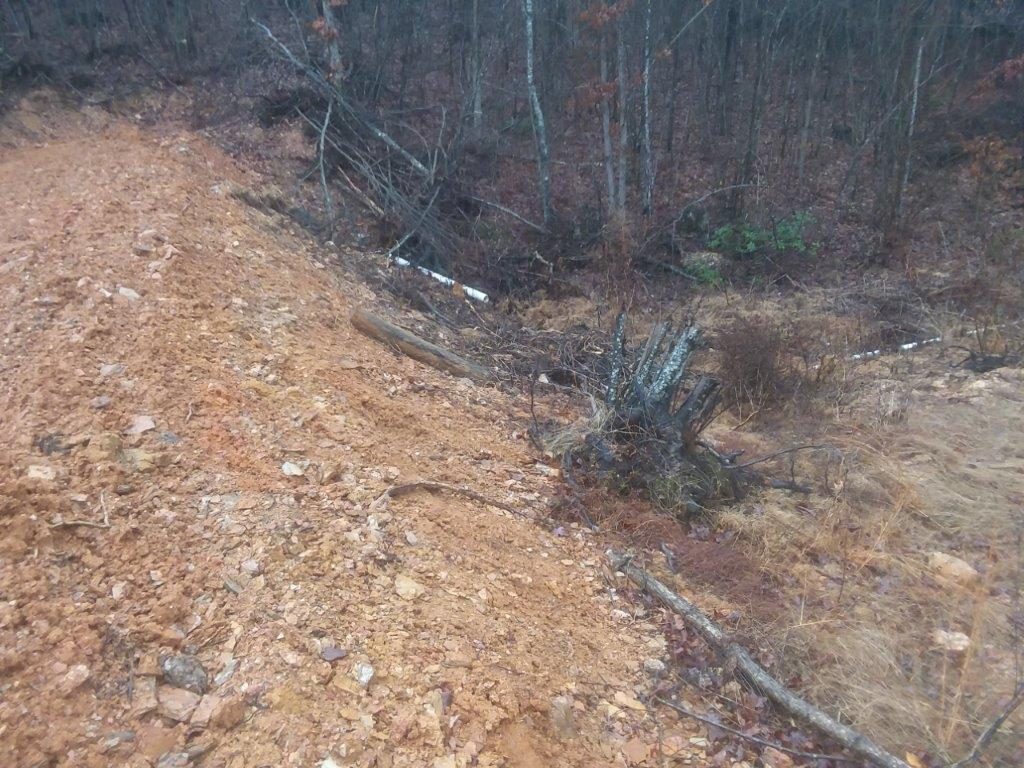
But that is exactly the situation I find myself in. It is true that I have held back a great deal of erosion. When thinking about the large volumes of water that used to scour out the channel beside the drive there is a great feeling of accomplishment, but also a knowledge of more things that need doing.
Thinking about increased fertility in the gardens, and watching new spaces for gardens open up beside the ponds fills my head with plans for the next growing season. But right now I need to look for places to put all this water that seems to be falling without end., My situation is not one of desperation since the reality of the extra water storage has made everything better overall, but now I find myself somewhat greedy.
Watching a two inch pipe steadily running water instead of flooding erosion is a nice step, but now I find a new drive to harness even that two inch flow of water.
PA Yeoman had lots of ideas about water, but probably the central theme was always “no runoff.” Watching that 2 ” pipe I’m starting to understand. It’s not that I want to hoard all the water in the world, obviously that could never happen anyway. But when that 2 inch pipe leaves the fishpond, it has nutrients that could do wonders for a garden, and i find myself thinking about the next project. Maybe this year I’ll finally get into setting up a garden down by the creek and take that water through a taro patch before I let it go.
Tying in new swales is also a way to harness that runoff, and it points to the idea that no matter how much you plan, a design is always going to evolve. The main idea is to make sure your design is not so hard and fast it gets overwhelmed with unexpected productivity.
I had thought about some sort of a final reed bed to do a filter /harvest of nutrients before the water finally went to the creek. Of course it seemed far in the future at that time but here I am today watching water escape, anticipating more fun.
The double shoe box rocket is elevated off the floor about 18 inches, and instead of an exhaust on top- in front, it is channeled horizontally under a glass stove top from left to right.
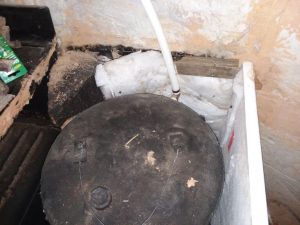
Having the water tank inside the bell was an idea suggested at http://donkey32.proboards.com that led me to my design, which in appearance is like a glass stove top, with an extended simple porcelain covered metal counter top. 
This extended bell houses a naked 20 gallon water tank with two fittings, one for cold water at the bottom and one for hot at the top.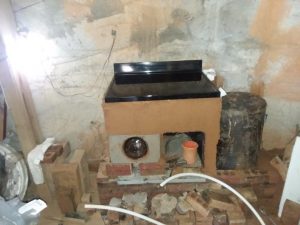
The top fitting connects directly into the hot water feed for my house system, and while in operation the hot water valve to the shower head in my tub is left open, and the cold water flow to the tank is shut off. This allows excess pressure to escape safely, and notifies me when the water is hot as steam starts to escape. Note that this is primarily proof of concept, and not yet ready for prime time water heating, it could easily have safety features added that would further ensure a more automatic type system.
 note the new visions fry pan “door” to the batch box, The lid I was using had broken into two pieces possibly from rough handling, possibly the lids are not as thermally robust as the pans
Last night I was burning the third batch of wood in the firebox,low grade poplar and some mystery wood, likely not completely dry, when I started to hear the steam. That produced a luxurious long (10 min at 4-5 gal/min), very hot shower (mixing lots of cold water). I was concerned about stratification, and the possibility that all the water would not heat evenly, but the length and relatively constant heat of the shower indicated this was not an issue.
The design inside takes the combustion gases exiting under the stove top into a very broad vertical opening that directs the hot gases forward into a circular motion around the whole vertical surface of the tank, with some small horizontal space over and under the tank.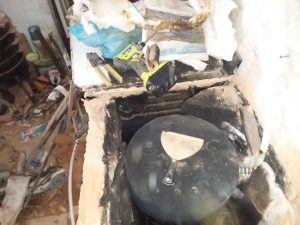 These gasses that are further cooled start to sink to the bottom as they circulate. The “stack” entrance is below the bottom of the tank in back of the system, so the exhaust comes in contact with about 270 degrees of the surface of the tank, with some minor contact top and bottom. Note that this stack is actually a powered exhaust by a very cheap, low wattage (about 10)fan. This provides a more or less guaranteed exhaust even at startup, and the exhaust is so cool (around 100F) that more robust (and expensive) equipment is not needed.
The test run last night reached temperatures on top of the port between 900 and 1000 F during the third batch of wood, with a very robust secondary burn at the port. Without testing equipment I have no way of knowing just how clean this is burning, but it appears that the system gets more efficient into the second and third batch of wood by the size of the secondary burn. 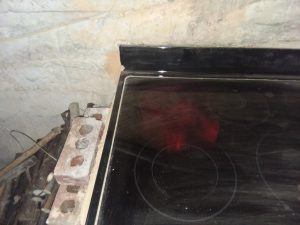 Perhaps using insulated Fire brick at the port would get the port to temperature more quickly (it is currently standard , full fire brick), and adding ceramic fiber blanket over the stove top might also enhance the temperature build up by reducing convection and radiation losses there.
The roof is performing better in this new temporary state, and with strong winds and very heavy snow loads and lots of rain, it kept everything dry inside, although missing some fascia boards and gutters, I’m getting a fair amount of water accumulating around the foundation.
I could say I planned it this way to test my drains and bring them into good functionality, but the truth is that’s just a happy coincidence, because at the end of the gutters the water pours down and forms a lake right next to the lowest part of the earth around the foundation.
So with the heavy rains, the drains (after much modification, are finally handling water infiltration very well, although not without some sleepless nights sweeping water to the drain and chiseling deeper channels in the concrete floor- (I knew there was a reason I didn’t tile the greenhouse right away).
So now that the drains are really working, maybe it’s time to actually add some gutters and take all that water over to the actual planned destination, a pipe that goes under the driveway into the kitchen garden.
I have been upstairs rearranging, cleaning if you will, but really it’s just a warehouse, with space at a premium, and there’s only so much condensing and organizing a person can do before it’s time to let stuff go.
I’m inheriting a bunch of pretty nice stuff from my mom’s house, so it can replace the crap I was using, unfortunately it’s tough for me to throw away anything that’s still functional. So the skeletal additions to the roof are waiting for clear floor space around the miter saw as well as enough floor space to install the rafters.
I do have some high hopes that I might actually start to move forward on this project in the near future, especially since the first cleaning steps are mostly inside out of the weather. That reminds me, it’s nice out and I left some crap by the door that needs to go somewhere else. Stay tuned.
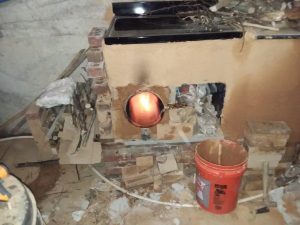
 Note the opening to the left of the tank, exhaust gases travel counter clockwise around the tank once the insulated top is installed
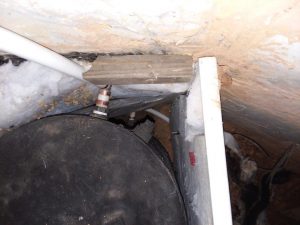 Two water connections to the tank, hot through the upper pipe, cold through the pipe that exits the enclosure botom
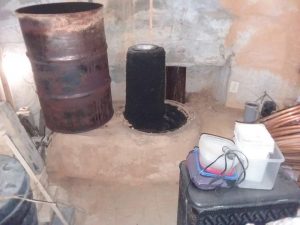
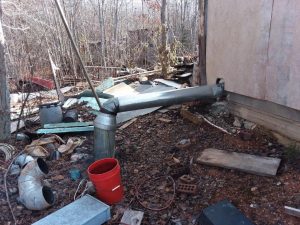 I prefer to think of the junk you see as a parts depository, the stove pipe comes up in the center of a poured concrete 2′ wall from the basement, runs horizontally, then down to the ground
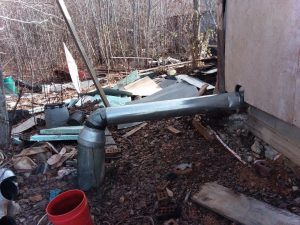 The wider area of the pipe after the angle pointing down houses a small fan,
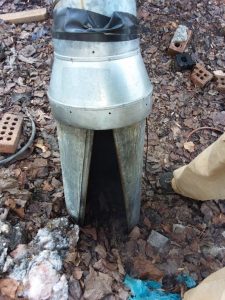 Though it looks solid from the sides, there is actually quite a wide openiong for the exhaust to exit. This configuration keeps the fan dry, allows for a small amount of falling for the exhaust as it cools, and protects pretty well against strong wind
s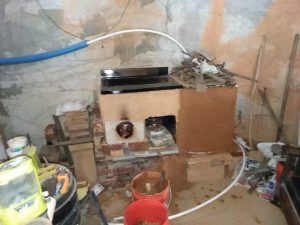 The tank enclosure has an insulated top and sides, with just enough room to circulate exhaust around and over the tank to transfer as much heat as possible to the water.
I have doubts that I will actually complete my roof this year. With summer heat and other projects the roof got put off and off until I got to the point where I had to do something so I could mount some new solar panels.
That something was to put down some plywood and fasten metal sheets down on top of it. So I can move and service these new monster panels .
The existing temporary covering on the roof had numerous leaks and actual open sky damage at times this past year and I knew I had to do something.
While the skeleton of the roof is mostly in place, the finished framework needs to be standardized with approximately 24 more rafters added before I can even think about actually finishing the roof . But I did at least get the mish mosh of materials off the roof and most of the metal in place so the next time I go to add plywood to the roof it will be easier to remove and replace the metal once I add the plywood. The missing skeletal elements can be mostly added from inside.
I could rant on about the hardships of working with salvaged materials, but the fact is I’m happy to be able to do so much with so little.
Now if I get back home after heavy winds and rain and find the place is still dry and the panels are still on the roof, I will be a very happy camper!:-)
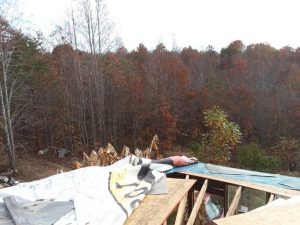 If it ain’t broke…. well, this was broke, out with the tarp, these first two roof sections are a bare beginning, with lots to do before they are in their final configuration, so you could say this is still temporary, but it definitely is moving toward a finished roof.
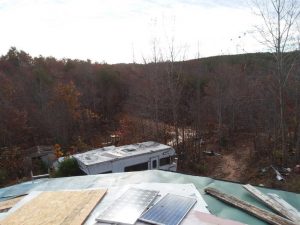 move the solar panels to the side ,slightly less power, but at least some continuity–these will be replaced with larger panels when this project is done.
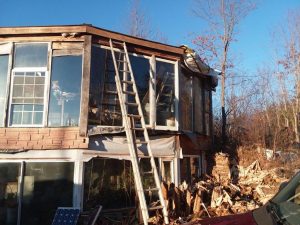 new fascia board helps to stabilize rafters
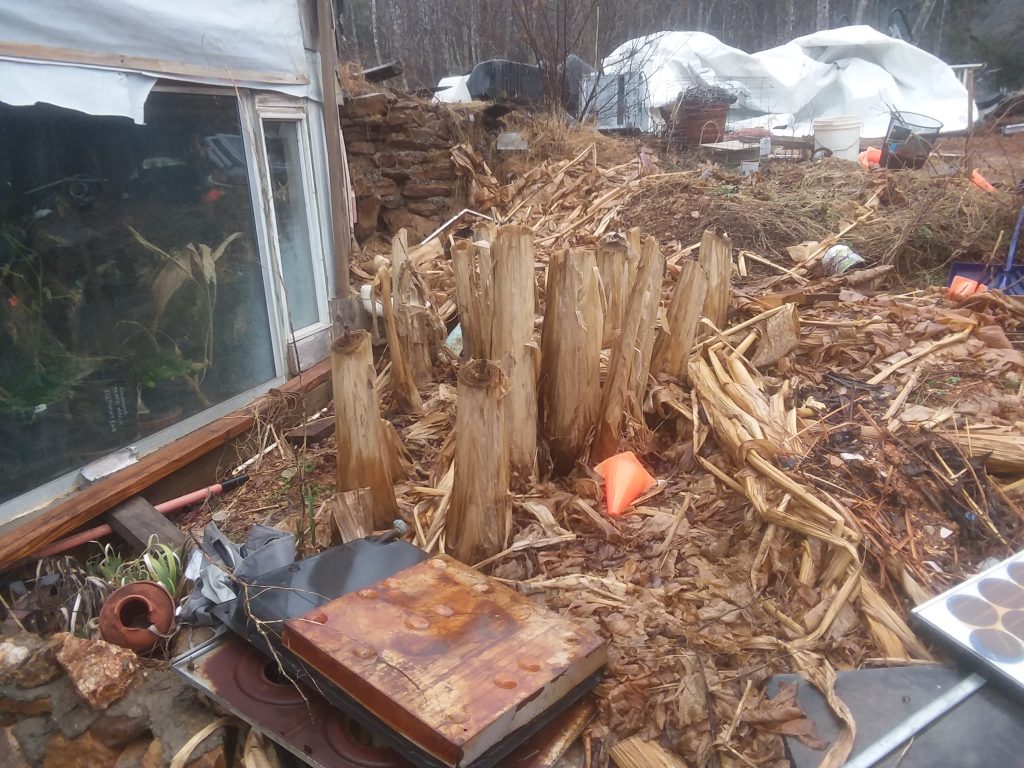
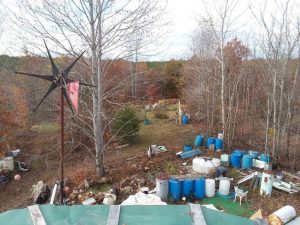 When I look around from this vantage the trash really jumps out at me. But in that “mess” is water storage, structural elements, tools and actual garbage. I know, get busy!!
Hello again from winterland– no snow but plenty of cold, it has even gone down below 20 degrees F already. Inside, the lowest it got was in the mid 50s.
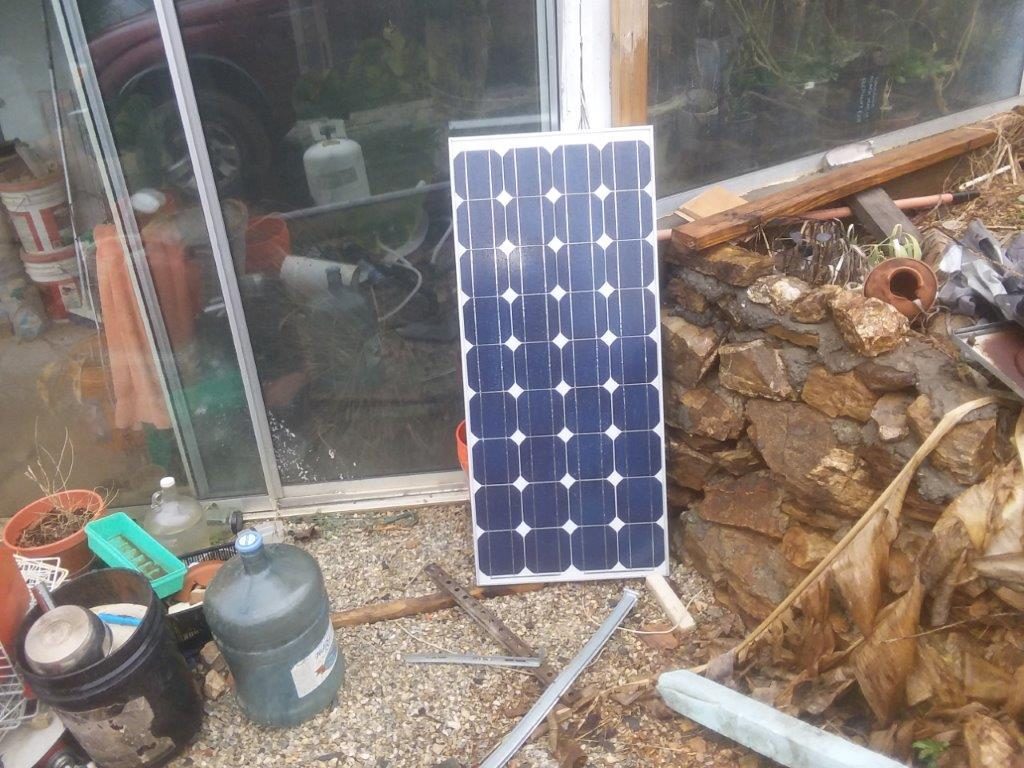
With a new stove build in progress, the place has relied completely on sun for passive heating, and yesterday, the first full sun in several days, I even got out a fan, and was moving the warm greenhouse air into the bedroom. Needless to say the sun gave me lots of surplus electrical energy with the new solar array I installed about three weeks ago.
this project is pretty ambitious, a smaller footprint and less passive mass, but with some luck the water tank will provide an active absorption and transfer of heat to the mass of the floor.
For now the plan is to use a naked water tank, but depending on how well it works I may look for additional transfer with copper tubing instead.
Last night I got the stove ready and did a small test run to make sure I could count on the exhaust fan, and there was no trace of smoke inside. I prefer to have everything completely airtight so even though the system is not finished, with positive ventilation it is tight enough to start the drying out process. There was very little heat at the exhaust pipe outside, but at this stage that really doesn’t tell anything since lots of btus are needed to dry it all out.
Once dry the btus will be available for cooking and heating water. One other effect of the moisture is the secondary burn chamber did not function very well, at least I hope that was the issue. I noticed a brief period during the burn when it started to ignite so that was a good sign,but most of the burning occurred in the firebox.
So while more insulation is needed, and the water tank needs to be plumbed in properly, for the time being I have a cooktop, and can continue the drying process.
Here’s the build history thus far
take off watercoil,remove rocket barrel, notice soot–wasn’t burning too clean (except inside the riser, which was still snow white. The batch box I installed last year was made for a 6″ riser, but lining the 8″ riser with “1 inch” ceramic fiber reduced the riser size too much. There also may have been an issue with the port configuration and the way I typically ran the burns. Getting used to the batch box dynamics requires a new mind set over typical managing of the burn in a regular wood stove.
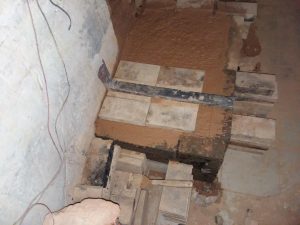
 gone with the old and a new platform in it’s place
  note that I’m working here with wet clay in forms
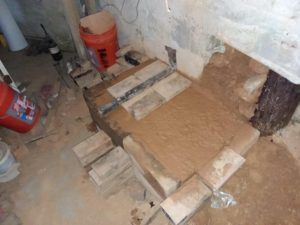
 a mock up of the batchbox floor with secondary burn tube. This is the tube I took out of the old batch box, but the new dimensions doubled the size of the tube I had been using for secondary air supply–this may have been part of the problem with excess soot in the old unit
 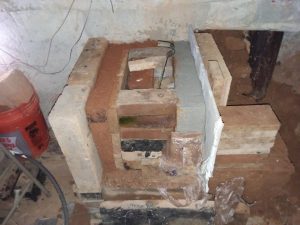 Perlite and clay on the back and left side, refractory cement on the right (shared side with oven) . odd bricks and such inside and out are used as wedges to hold split firebrick liner in place as forms while the clay perlite mix is solidifying
 Adding the top secondary burn chamber.
In this picture the floor of the top chamber is ceramic fiber using a bit of water glass as a stiffener, but the final solution was giving a slight slope of the firebrick in the lower batch box reducing the width at the top by approx 1/2″ and precariously using the 1/4 inch or so for support of normal split firebrick. These were secured with a layer of perlite and clay keeping them precisely centered.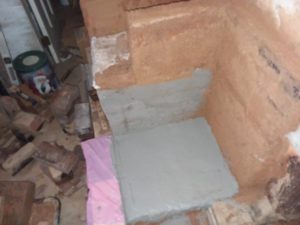 Picture of oven location
 With the oven in place.
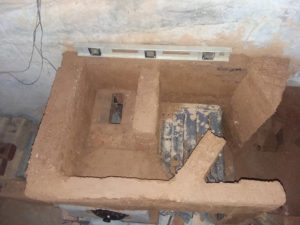 The final configuration with baffles to channel the heat
 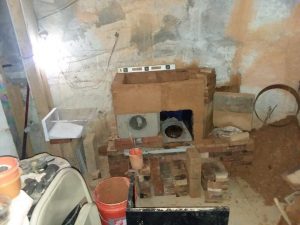 No door on the oven yet, but since the inside of the oven is outside the combustion gas area it won’t stop me from doing a test run, here’s the top gaskets made of ceramic fiber
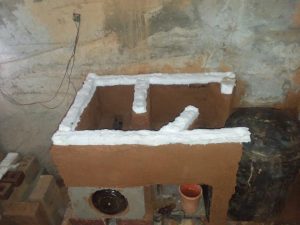
with the stove top and water tank in place
finally with a hurry up enclosure around the water tank 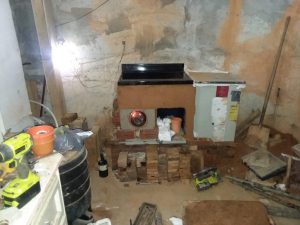 and the first fire, a power vent replaces a draft, and the vent pipe was just comfortably warm outside after a half hour burn
Follow up tests have raised the stove top temperature to 570 F as the clay dries out. Once the temps start to stabilize, assuming a strong secondary burn, I’ll be able to more accurately test the effects of different baffle placements, and actual potential of the design.
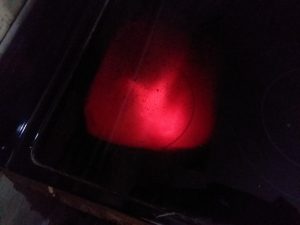 view of secondary flame through top

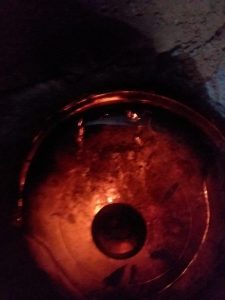 views of firebox
This was taking at the beginning of a burn cycle. During the hotter parts of the burn the flames are a continuous robust splash against the amber colored stove top glass.. temps here are just approaching 900F.
Please note much of the fuel is a bit damp. this slows starting and reduces overall performance.